
Crispy Garlic Parmesan Chicken Thighs
Crispy garlic Parmesan chicken thighs hit that sweet spot where the skin shatters at the edge, the meat stays juicy, and the topping turns into a salty, buttery crust instead…
Tip: save now, read later.
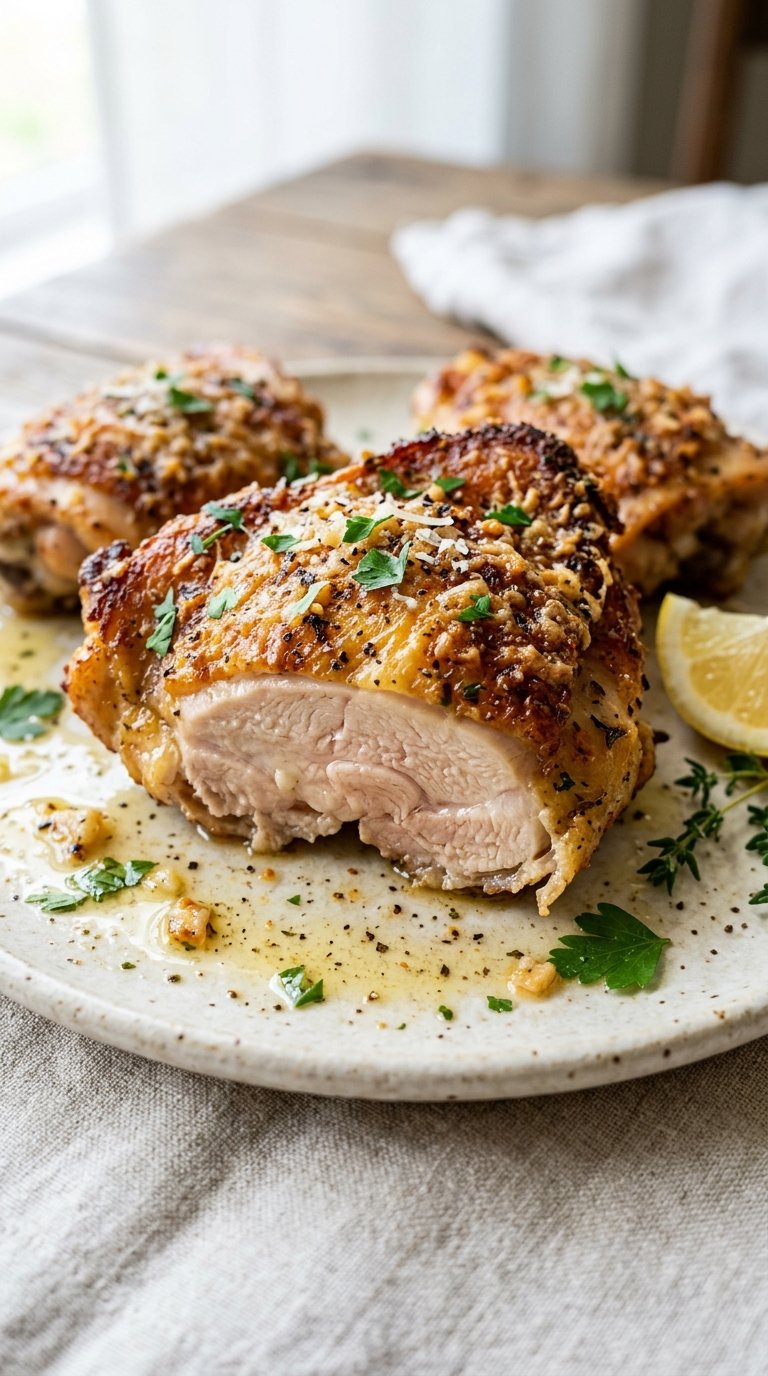
Crispy garlic Parmesan chicken thighs hit that sweet spot where the skin shatters at the edge, the meat stays juicy, and the topping turns into a salty, buttery crust instead of sliding off the pan. The sear does the heavy lifting here. It gives the skin a head start before the oven finishes the job, which is how you get crispness without drying out the meat.
The garlic Parmesan mixture works because it’s thick enough to cling to the chicken and flavorful enough to season every bite. Melted butter carries the garlic and herbs, while finely grated Parmesan melts into the surface and browns instead of clumping into big dry patches. The lemon juice is small but important; it keeps the topping from tasting heavy and gives the finished chicken a little lift.
Below, I’ll walk you through the exact sear time, the easiest way to keep the topping on the chicken instead of on the tray, and a few swaps that still give you a crackly, savory finish.
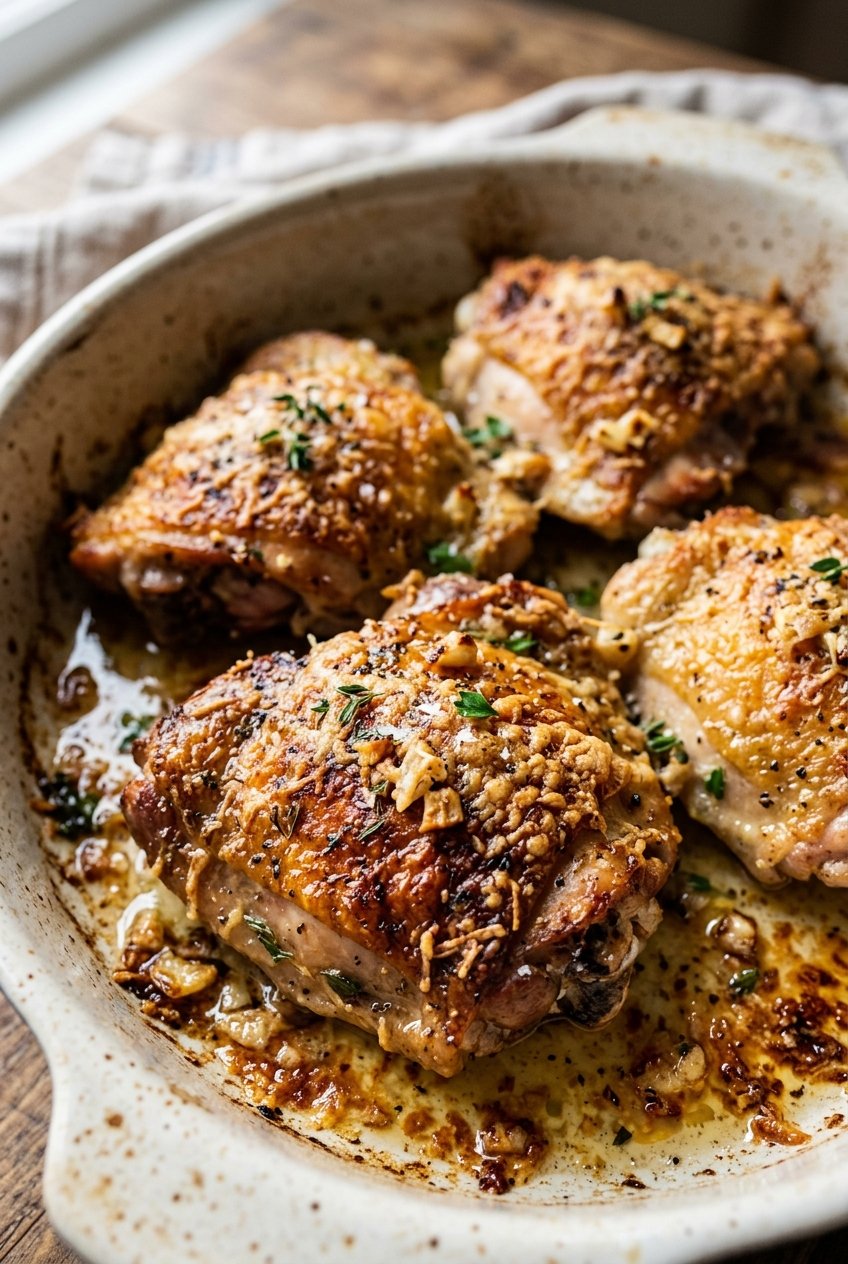
The skin came out crisp even after baking, and the garlic Parmesan topping stayed on the chicken instead of pooling in the pan. My husband kept sneaking pieces before dinner was even on the table.
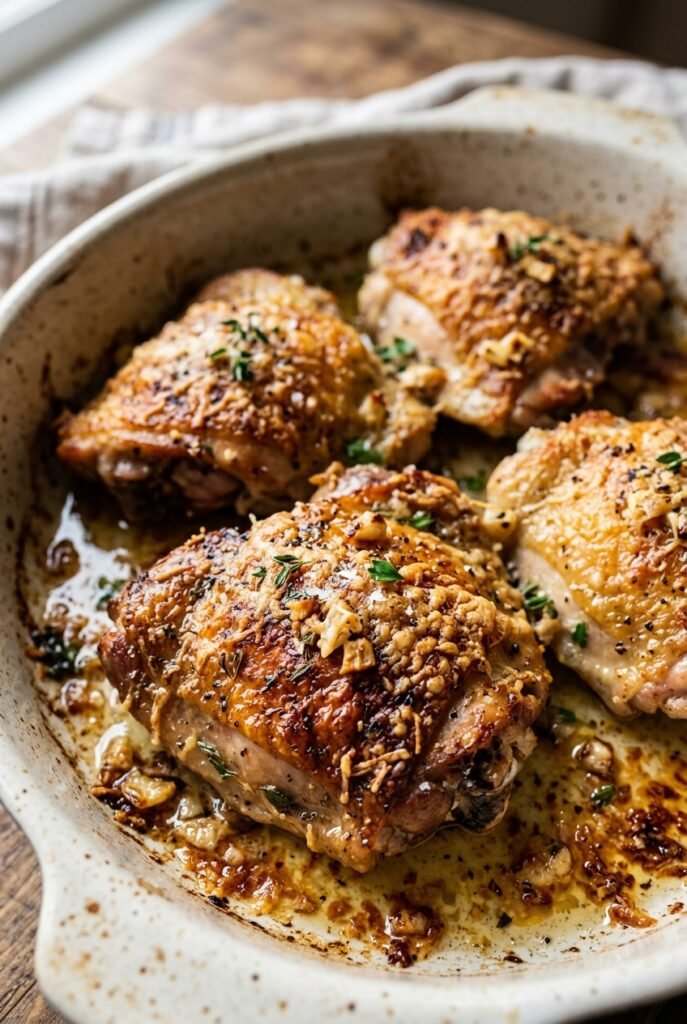
Crispy garlic Parmesan chicken thighs with crackly skin and a buttery, golden topping
The Sear Is What Keeps the Skin Crispy Under All That Cheese
Most chicken thigh recipes that promise crispy skin lose the battle the moment a wet topping goes on top. The skin softens, the cheese melts away, and you end up with good flavor but not much texture. This version avoids that by giving the thighs a hard sear first, skin-side down, until the fat renders and the surface turns deep golden. That’s the part that survives the oven.
The other mistake is skipping the dry surface. Moisture is the enemy of browning, and chicken thighs usually carry a little more of it than people expect, especially around the skin. Pat them dry until they feel tacky, not damp, and the seasoning will cling better too. Once that skin is crisp, the oven only has to finish the meat and set the topping.
- Bone-in, skin-on thighs — These hold up best under a thick Parmesan topping. Boneless thighs will work, but they cook faster and won’t give you the same crisp skin.
- Finely grated Parmesan — Use the fine stuff from a box grater, not coarse shreds. It melts into the butter and browns evenly instead of sitting in little clumps.
- Fresh garlic — This is one place where jarred garlic won’t give the same sharp, clean bite. Mince it finely so it disperses through the butter and doesn’t burn in spots.
- Lemon juice — Just a teaspoon keeps the topping from tasting flat. Bottled lemon juice works in a pinch, but fresh tastes brighter against the fat and cheese.
What Each Ingredient Is Doing in the Pan
- Chicken thighs — The fat under the skin bastes the meat as it cooks, which is why thighs stay forgiving even if they go a few minutes long. Legs or drumsticks can work with the same method.
- Olive oil — This helps the seasonings spread and supports browning in the skillet. Any neutral oil will work if that’s what you have.
- Butter — Butter carries the garlic and helps the Parmesan toast on top of the chicken. Don’t swap in margarine; it won’t brown the same way.
- Parsley and oregano — Parsley keeps the topping fresh, while oregano gives it that familiar savory edge. Dried oregano is fine here because it blooms in the butter.
- Red pepper flakes — Optional, but worth adding if you like a little heat cutting through the cheese. You only need a pinch.
Building the Crust Without Burning the Garlic
Dry and Season the Chicken First
Pat the thighs dry until the skin looks matte instead of glossy. Then rub them with oil and the dry seasonings so every surface is coated. If the seasoning looks patchy, add a light second pass after the oil has helped it stick. Wet chicken will steam in the pan, and that’s the fastest way to lose the crispy skin you’re after.
Sear Until the Skin Releases Cleanly
Place the thighs skin-side down in a hot oven-safe skillet and leave them alone for several minutes. If the skin sticks, it isn’t ready yet. When it’s ready, it lifts with a little resistance and shows a deep golden crust. Flip them only after that point, or you’ll tear the skin and leave the best part behind in the pan.
Spoon the Topping on the Skin Side
Mix the butter, garlic, Parmesan, parsley, lemon juice, oregano, and red pepper flakes into a thick paste-like mixture. Spoon it over the top of each thigh, concentrating it on the skin side so it bakes into a crust. If the mixture looks runny, the cheese was too coarse or the butter was too hot. Let it sit for a minute before spooning it on.
Bake, Then Broil Just Long Enough
Bake until the thighs reach temperature and the topping looks set and lightly browned. If you want extra color, broil for 1 to 2 minutes, but stay close. Parmesan goes from golden to burnt fast, and garlic can turn bitter in a flash. The finished chicken should smell nutty, garlicky, and a little toasty at the edges.
How to Adapt These Crispy Garlic Parmesan Chicken Thighs
Make It Dairy-Free
Use a dairy-free butter substitute and a Parmesan-style vegan cheese that melts well. The topping will still brown, but it won’t taste as salty and nutty as the original, so add a little extra salt and a pinch of nutritional yeast if needed.
Use Boneless Thighs for a Faster Dinner
Boneless, skinless thighs cook faster and skip the crisp-skin step, but the garlic Parmesan topping still works. Bake them on a lined sheet pan and start checking early, because they can go from juicy to dry in a few minutes once they’re thin.
Make It Gluten-Free Without Changing the Method
This recipe is naturally gluten-free as written, as long as your Parmesan and seasonings are certified gluten-free. The technique doesn’t need to change at all, which is part of why it’s such an easy dinner to keep in rotation.
Swap in Chicken Breasts, but Watch the Time
Chicken breasts can take the same topping, but they need a gentler hand and a shorter bake time. Pound them to an even thickness so the thick ends don’t dry out before the center is done.
Storage and Reheating
- Refrigerator: Store leftovers for up to 4 days. The skin softens a bit, but the flavor stays strong.
- Freezer: These freeze well for up to 2 months. Wrap tightly and freeze without the lemon wedges or fresh parsley.
- Reheating: Reheat on a rack in a 375°F oven until hot. The oven brings the skin back much better than the microwave, which turns the topping soggy and dull.
Answers to the Questions Worth Asking
Crispy Garlic Parmesan Chicken Thighs
Ingredients
Equipment
Method
- Preheat the oven to 425°F (220°C) and line a rimmed baking sheet or shallow baking dish with parchment paper or lightly grease it.
- Pat the chicken thighs very dry with paper towels so the skin can crisp.
- Rub the thighs with olive oil, then evenly season with kosher salt, black pepper, garlic powder, Italian seasoning, and smoked paprika on all sides.
- Heat an oven-safe skillet over medium-high heat and place the thighs skin-side down, searing for 5–7 minutes until deeply golden.
- Flip the thighs and cook for 2 minutes.
- Combine melted unsalted butter, minced garlic, finely grated Parmesan cheese, chopped fresh parsley, fresh lemon juice, dried oregano, and optional red pepper flakes.
- Arrange the thighs skin-side up and spoon the garlic Parmesan mixture generously over each thigh, concentrating most of the Parmesan on top of the skin.
- Bake for 25–30 minutes at 425°F (220°C) until cooked through; aim for 165°F (74°C) or slightly beyond for better thigh texture.
- Broil for 1–2 minutes for extra browning, watching closely so the garlic and Parmesan don’t burn.
- Rest the chicken for 5 minutes, then sprinkle with additional freshly grated Parmesan and chopped fresh parsley before serving with optional lemon wedges.
