
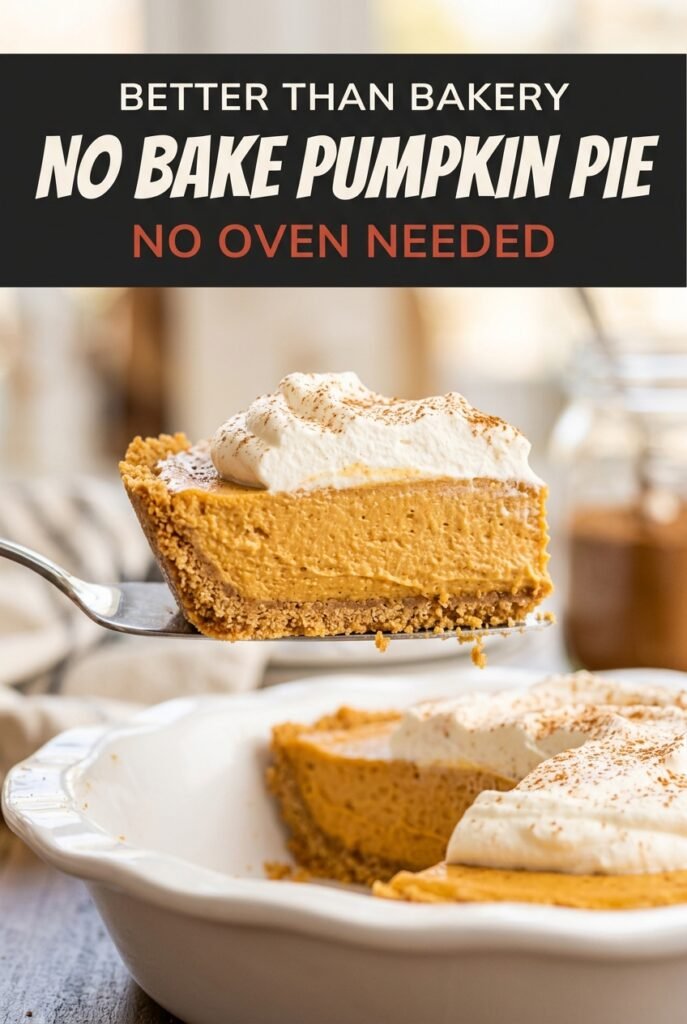
Easy No-Bake Pumpkin Pie with Graham Crust
The filling sets up smooth and sliceable without ever going near the oven, and that alone makes this pie worth keeping in the fall dessert rotation. You get the familiar…
Tip: save now, read later.
The filling sets up smooth and sliceable without ever going near the oven, and that alone makes this pie worth keeping in the fall dessert rotation. You get the familiar pumpkin-spice flavor, but the texture is lighter and creamier than a baked custard pie, with a chilled, mousse-like middle that holds its shape cleanly on the plate.
The trick is in the balance. Cream cheese gives the filling body, instant pudding helps it thicken fast and stay firm, and whipped topping keeps it airy instead of dense. The graham crust is pressed in hard and frozen before the filling goes in, which is what keeps it from turning sandy or falling apart when you cut the first slice.
Below, I’ve added the small details that matter most here: how to keep the filling smooth, what happens if your cream cheese is still chilly, and a few smart swaps if you want to make it with homemade whipped cream instead of whipped topping.
The filling was silky and held its shape beautifully after chilling overnight, and the graham crust stayed firm instead of getting soggy. I used the whipped cream topping and the pie sliced cleanly the next day with no mess at all.
Love the silky filling and buttery graham crust? Save this no-bake pumpkin pie for the dessert nights when you want clean slices without turning on the oven.
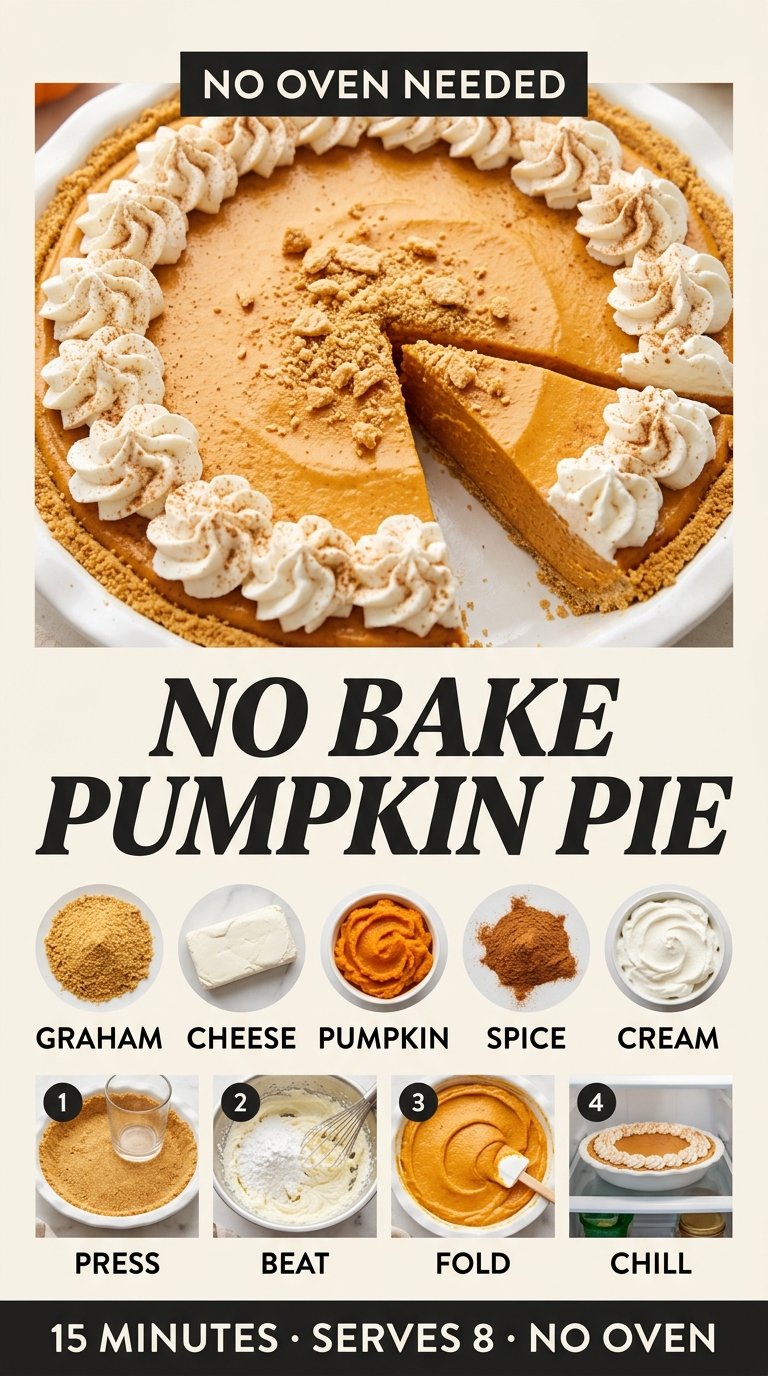
The Reason This Filling Sets Cleanly Without Baking
Most no-bake pumpkin pies fail for one of two reasons: the filling stays loose, or it turns heavy and grainy. This version avoids both by using cream cheese for structure and instant pudding for a fast-setting base. The cream cheese needs to be fully softened and beaten smooth first, because once pumpkin goes in, any little lumps are there for good.
The other thing people miss is the whipped topping. It doesn’t just lighten the filling; it gives the pie enough loft to feel airy on the fork. If you stir it in too aggressively, the filling loses that mousse-like texture and settles into something denser. Fold it in gently and stop as soon as the streaks disappear.
- Cream cheese — This is the backbone of the filling. Full-fat cream cheese gives the best body and tang; reduced-fat versions can work, but the pie may set a little softer.
- Instant vanilla pudding mix — Don’t swap in cook-and-serve pudding here. The instant mix thickens without heat and helps the pie hold a neat slice after chilling.
- Pumpkin puree — Use pure pumpkin, not pumpkin pie filling. Pie filling is already sweetened and spiced, which throws off the balance and can make the texture loose.
- Whipped topping or whipped cream — Store-bought whipped topping gives the most reliable set. If you use fresh whipped cream, whip it to stiff peaks so the filling doesn’t slump in the fridge.
- Graham crumbs — Finely crushed crumbs pack tighter and cut cleaner than big, uneven pieces. If you’re crushing them yourself, pulse until they look like wet sand, not coarse gravel.
Building the Pie So the Crust Stays Sharp and the Filling Stays Smooth
Pressing the crust with enough force
Stir the graham crumbs, melted butter, sugar, and salt until every crumb looks damp. Then press it into the pie dish hard, especially along the bottom edge and the seam where the sides meet the base. If the crust feels loose when you tap it, it needs more pressure. Freezing it for 20 minutes gives the butter time to firm up, which is what keeps the first slice from collapsing.
Beating out the cream cheese lumps first
Beat the cream cheese and powdered sugar until the mixture looks completely smooth and glossy. This is the stage that determines whether the pie tastes silky or slightly chalky. If the cream cheese is even a little cold, tiny lumps stay behind and show up in the finished filling. Let it warm on the counter until it yields easily when pressed.
Mixing in the pumpkin and pudding
Add the pumpkin puree, dry pudding mix, spice, vanilla, and salt, then beat until the mixture turns thick and uniform. It should look deep orange and hold soft ridges from the mixer. If it still looks loose after two minutes, keep going for another 30 seconds rather than stopping early. The pudding needs that time to start thickening before you add the whipped topping.
Folding in the airy finish
Use a spatula to fold in the whipped topping until no white streaks remain. Don’t beat it here. Whipping at this point knocks out the air that gives the pie its light texture. Spread the filling into the chilled crust, smooth the top, and refrigerate it long enough for the center to firm up all the way through.
What to Change When You Want a Different Kind of Slice
Homemade whipped cream instead of whipped topping
Whip 1 1/2 cups heavy cream to stiff peaks and fold it in the same way you would whipped topping. The pie will taste a little fresher and less sweet, but it may soften faster if it sits out at room temperature for a long stretch. Chill it well before slicing.
A gluten-free crust
Use gluten-free graham-style crackers in the crust and keep the rest of the filling the same. The texture and set stay nearly identical, and this swap doesn’t change the filling at all.
A pecan crust for more crunch
Swap part of the graham crumbs for finely chopped toasted pecans, or use a full nut crust if you want a deeper, toastier finish. It adds flavor and crunch, but the crust becomes a little more delicate when slicing.
Make it a little less sweet
Reduce the powdered sugar slightly and dust the top with extra cinnamon instead of adding more sweetness. The pie still sets properly, but the pumpkin and spice come through a little more clearly.
Storage and Reheating
- Refrigerator: Store covered for up to 4 days. The crust stays best on days 1 and 2, and the filling will soften slightly after that.
- Freezer: It freezes well. Wrap the whole pie tightly and freeze for up to 1 month, then thaw overnight in the refrigerator. The texture stays creamy, though the whipped topping garnish is best added after thawing.
- Reheating: Don’t reheat this pie. Serve it chilled. If it sits out too long, the filling loses its clean slice and the crust starts to loosen.
The Questions That Come Up Before the Pie Sets
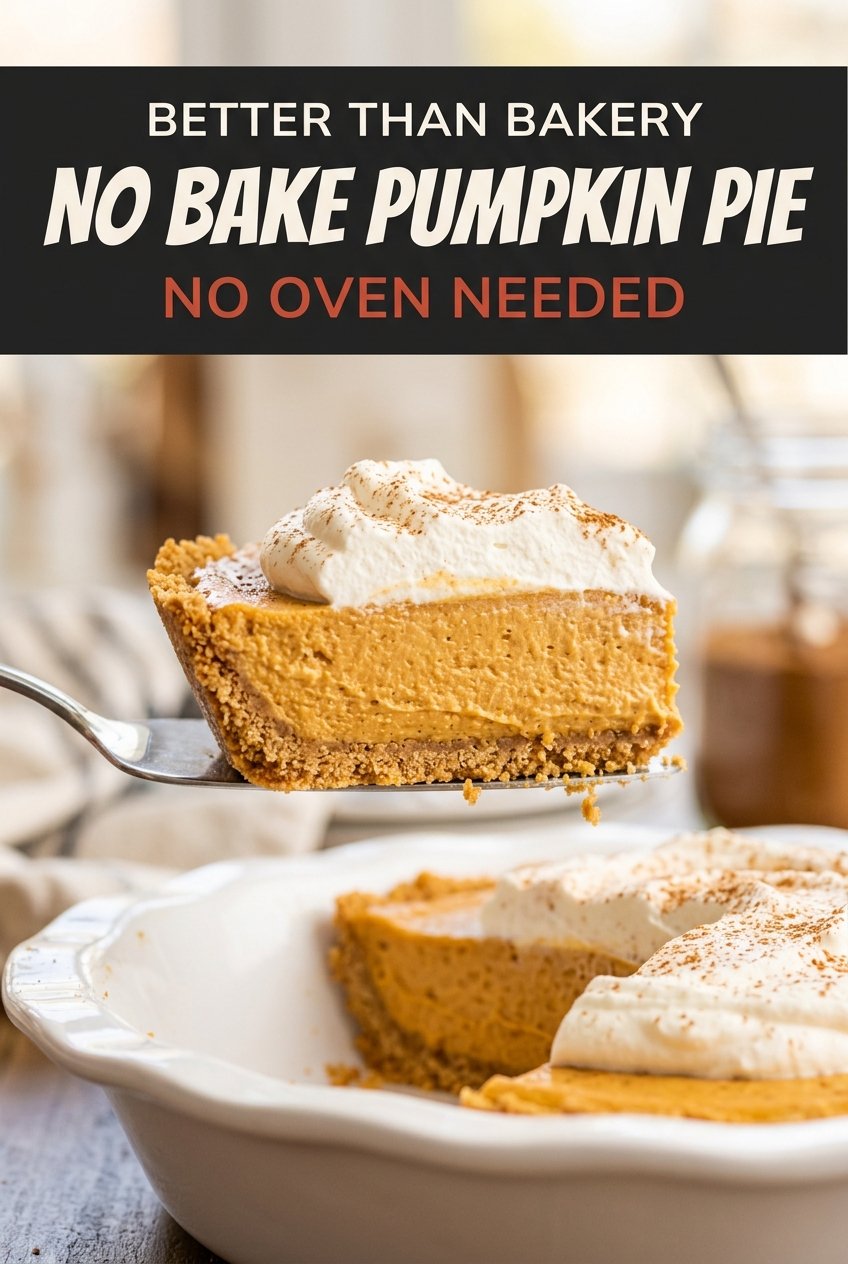
Easy No-Bake Pumpkin Pie with Graham Crust
Ingredients
Equipment
Method
- Stir graham cracker crumbs, melted butter, granulated sugar, and salt until the mixture looks like damp sand and holds together when squeezed.
- Press the mixture firmly into a 9-inch pie dish, compacting the base and pushing crumbs up the sides.
- Freeze the crust for 20 minutes so it firms up and won’t crumble when sliced.
- Beat softened cream cheese and powdered sugar with an electric mixer for 2 minutes, until completely smooth with no lumps.
- Add pumpkin puree, instant vanilla pudding mix (dry), pumpkin pie spice, vanilla extract, and salt, then beat on medium for 2 minutes until thick, uniform, and deep orange.
- Fold in whipped topping by hand with a spatula until no white streaks remain, folding gently so you don’t knock out the air.
- Spread the pumpkin filling into the chilled crust and smooth the top.
- Cover and refrigerate for at least 6 hours, ideally overnight, until fully set and firm to the touch.
- Pipe whipped cream around the edge of the pie.
- Dust the top with ground cinnamon and scatter crushed graham crackers or toasted pecans over the surface.
