
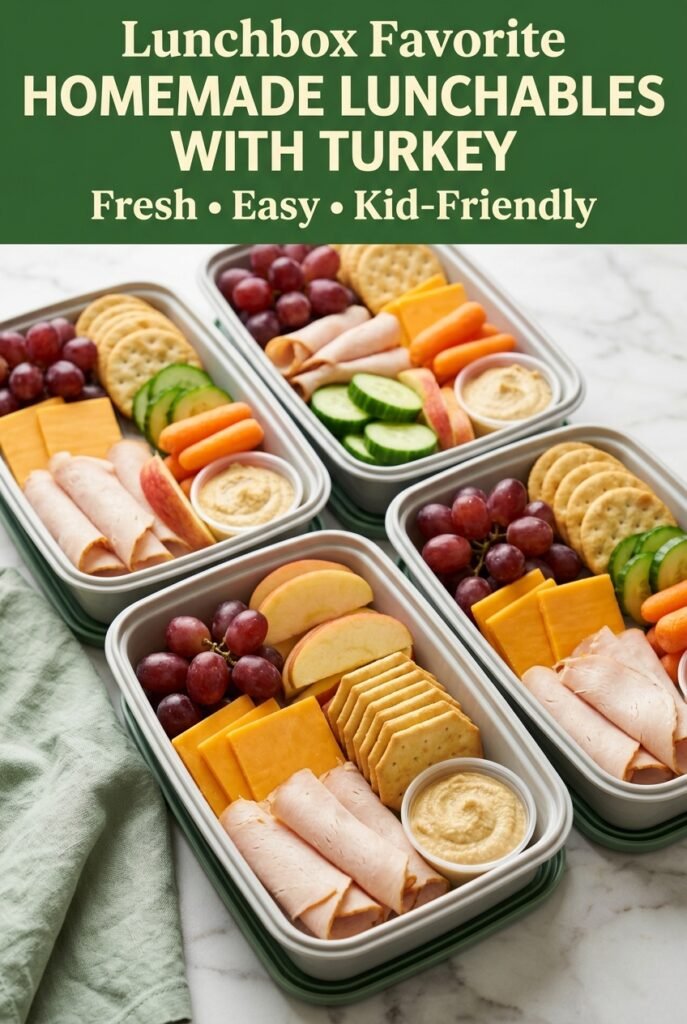
Homemade Lunchables with Turkey and Crackers
Homemade Lunchables with turkey and crackers hit that sweet spot between fun and practical: crisp crackers, savory turkey, cheddar that actually tastes like cheese, and a few fresh sides that…
Tip: save now, read later.
Homemade Lunchables with turkey and crackers hit that sweet spot between fun and practical: crisp crackers, savory turkey, cheddar that actually tastes like cheese, and a few fresh sides that keep the whole lunch from feeling one-note. The best part is how easily these lunch kits come together ahead of time, then wait patiently in the fridge until you need them.
This version works because every part has a job. The crackers stay separate until eating time, so they don’t go soft. The turkey is folded instead of layered flat, which makes the box feel fuller and keeps the pieces easy for little hands to grab. A small cup of dip adds richness without turning the whole container soggy, and the fruit and vegetables round everything out with crunch and sweetness.
Below, you’ll find a simple way to pack them so each container feels balanced, plus a few swaps that help when you’re working with picky eaters, different diets, or whatever’s already in the fridge.
The crackers stayed crisp, and the little dip cup kept everything from getting soggy by lunchtime. My kids loved building their own turkey crackers, and I liked that I could pack the whole thing the night before.
These homemade lunch kits keep the crackers crunchy and the turkey and cheese neatly packed for easy grab-and-go lunches.
The Trick to Keeping the Crackers Crisp Until Lunch
The biggest mistake with lunch kits like this is packing everything too tightly or stacking moist ingredients against the crackers. Once the crackers touch fruit juice, dip, or even damp cucumber slices, they lose their snap fast. The fix is simple: give each component its own space and keep anything wet in a separate container or tucked off to the side.
Folding the turkey instead of laying it flat also helps. Folded slices take up less room, look more generous in the box, and stay easier to grab. If you’re packing these more than a few hours ahead, pat the grapes, cucumbers, and apple slices dry after washing so excess moisture doesn’t collect in the container.
What Each Ingredient Is Actually Doing in This Lunch Kit
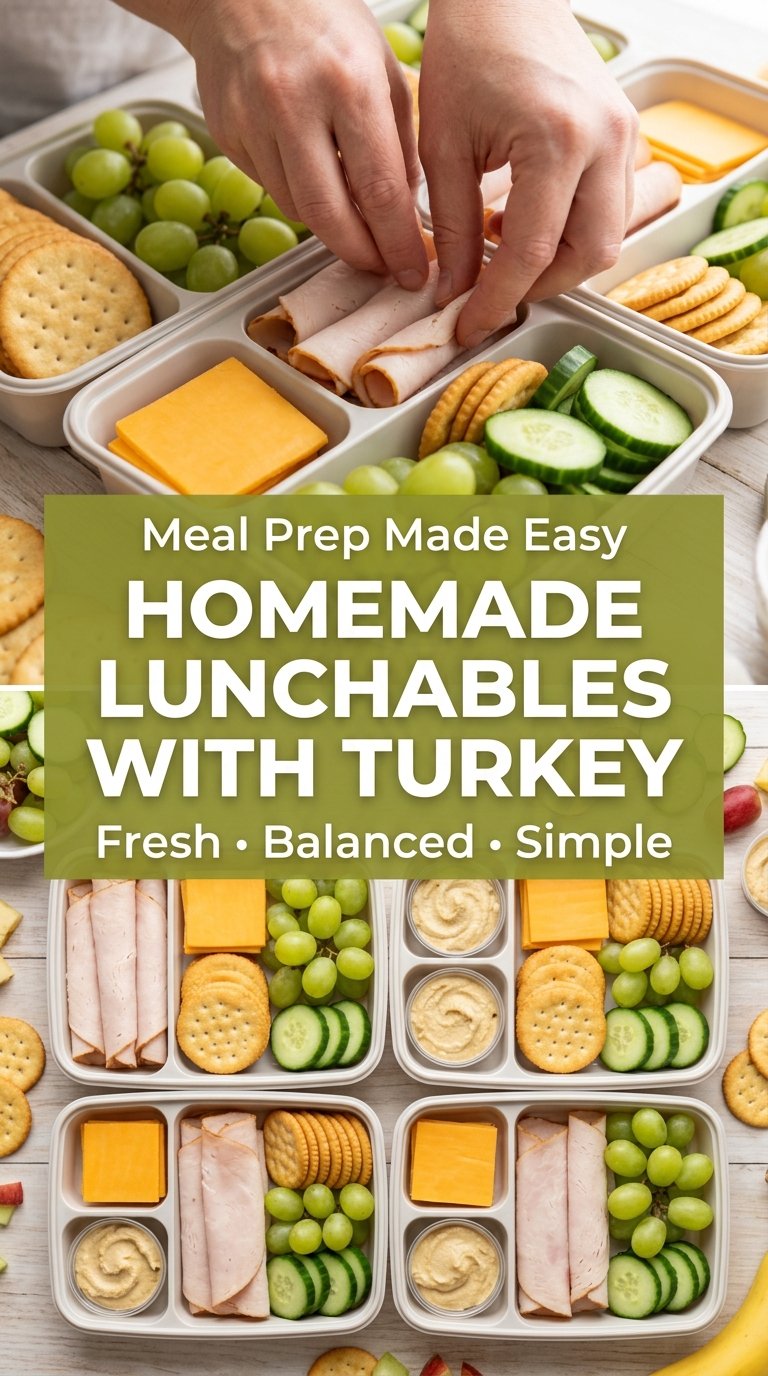
- Butter crackers — These give you the classic lunch-kit crunch and a neutral base for the turkey and cheese. Any sturdy round cracker works, but thin crackers tend to break before lunch is over.
- Deli turkey — Sliced turkey brings the savory backbone of the box. Ask for thin slices at the deli counter if you can; thick-cut turkey is harder to fold and can dominate the whole lunch.
- Cheddar cheese — Cheddar adds salt, richness, and enough structure to cut into neat squares. Pre-sliced cheese works fine, but block cheese cut into cracker-size pieces usually tastes fresher and stacks better.
- Grapes, cucumber, and carrots — These keep the meal from feeling like only crackers and protein. Grapes add sweetness, cucumbers add cool crunch, and carrots bring extra bite; dry them well before packing so the lunch stays tidy.
- Hummus or ranch — The dip is optional, but it adds moisture and gives the crackers a little more staying power. Use a small lidded cup so the crackers don’t soften before lunch.
- Apple slices with lemon juice — The lemon juice keeps the apples from browning and helps them look fresh after a few hours in the fridge. Slice them just before packing if you want the cleanest texture.
How to Pack Each Lunch Box So Nothing Gets Soggy
Start with the dry items
Lay down the crackers first and keep them in one section of the container where they won’t be crushed by heavier ingredients. If the lunch box has a removable tray, use it. The goal is to keep the crackers away from anything that gives off moisture, especially fruit and dip.
Build the protein and cheese next
Fold the turkey into loose ribbons or halves and tuck the cheese beside it. That gives the lunch some visual appeal and makes the pieces easier to grab one at a time. If you place the cheese directly against the crackers, it helps create a little moisture barrier, which is handy if the lunch will sit in the fridge until the next day.
Add the fresh sides last
Place the grapes, cucumbers, carrots, and apples in their own section so their juices don’t spread. Drying the produce matters more than people think; even a little extra water can soften the crackers by noon. Put the dip cup in the container only after everything else is arranged so it doesn’t tip over while you pack.
Ways to Change These Lunch Kits Without Losing the Point
Make It Gluten-Free
Swap in gluten-free crackers that can hold up to folding and stacking. Some gluten-free crackers are delicate, so choose a sturdy style rather than a thin crispbread. The rest of the lunch works the same way.
Dairy-Free Version
Use dairy-free cheese slices and keep the hummus instead of ranch. The lunch still feels complete because the turkey and crackers carry the savory part, while the fruit and vegetables bring freshness. Expect the cheese to be a little softer and less sharp than cheddar.
Vegetarian Lunch Kit
Skip the turkey and add hard-boiled egg slices, extra cheese, or roasted chickpeas for more protein. You lose the classic deli flavor, but the lunch still has enough variety to feel satisfying. A little mustard or hummus helps replace the savory punch the turkey usually brings.
Storage and Reheating
- Refrigerator: Store assembled lunch boxes for up to 3 days. The crackers stay best on day one and two, but they can soften slightly by day three if any moisture gets in.
- Freezer: This one doesn’t freeze well. The crackers lose their texture, and the fresh produce turns watery after thawing.
- Reheating: No reheating needed. Serve chilled or let the box sit at room temperature for about 10 minutes if the cheese is too firm straight from the fridge.
Questions I Get Asked About This Recipe
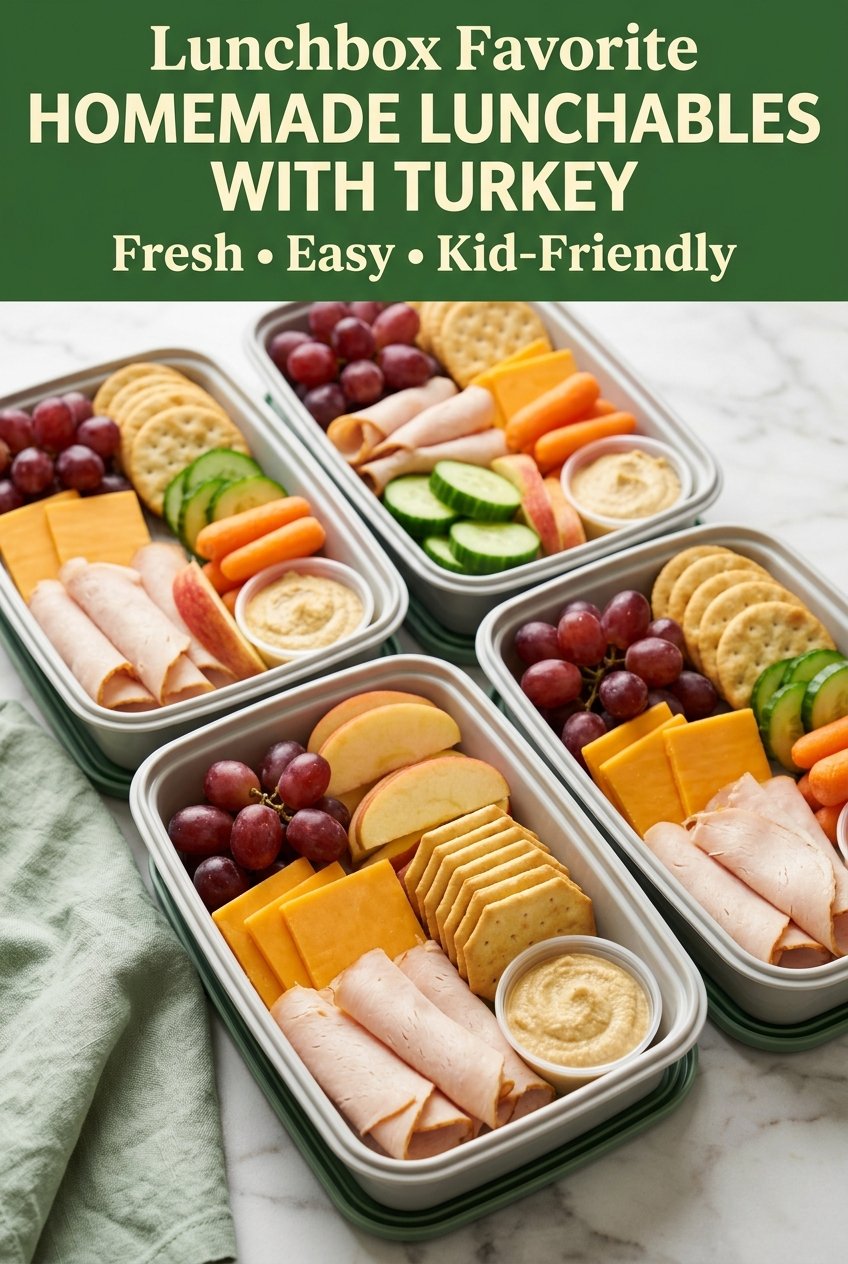
Homemade Lunchables with Turkey and Crackers
Ingredients
Method
- Wash and thoroughly dry the grapes, cucumber slices, baby carrots, and apple slices. This keeps crackers crisp and prevents watery containers.
- Cut the cheddar cheese slices into cracker-sized squares. Aim for pieces that sit beside the turkey without hanging over.
- Divide the crackers evenly among four meal-prep containers. Keep crackers on one side so they stay crisp.
- Fold the turkey slices and arrange them beside the cheese squares. Place them so each serving has an equal portion.
- Add the grapes, cucumber slices, baby carrots, and apple slices to each container. Distribute evenly across all four containers.
- Spoon 1 tablespoon of hummus or ranch dip into a small lidded cup and place it inside each container. Keep the dip separate until serving.
- Add a small piece of dark chocolate if desired. Seal it so it stays intact and doesn’t melt.
- Seal the containers and refrigerate for up to 3 days. Serve chilled and let everyone build their own cracker sandwiches.
