
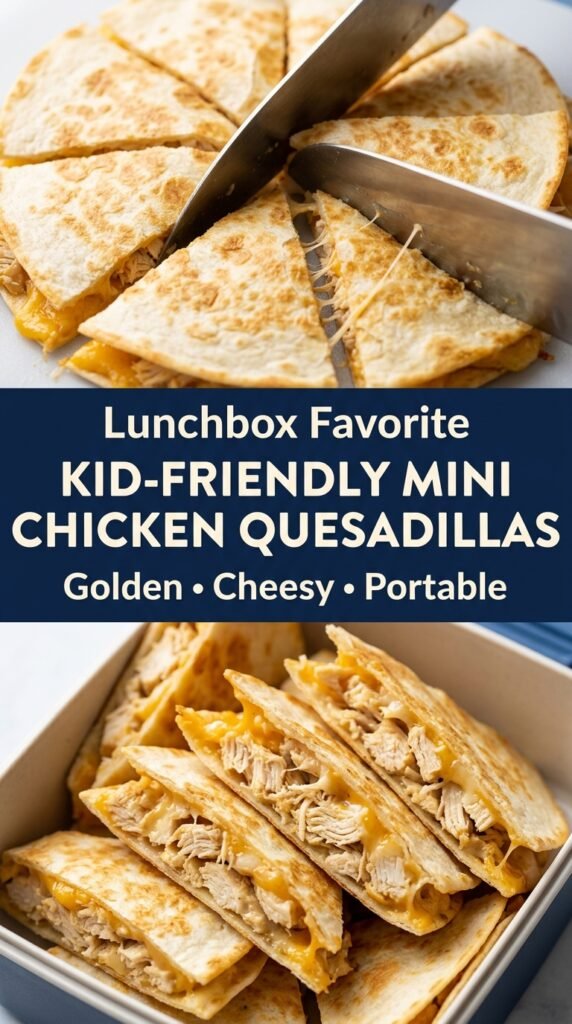
Kid-Friendly Mini Chicken Quesadillas
Mini chicken quesadillas are one of those rare meals that disappear fast and still manage to feel practical. The tortillas turn crisp at the edges, the cheese melts into the…
Tip: save now, read later.
Mini chicken quesadillas are one of those rare meals that disappear fast and still manage to feel practical. The tortillas turn crisp at the edges, the cheese melts into the chicken, and the small size makes every wedge easy to pick up without fillings sliding out onto the plate. They work for lunch, after-school snacks, or a quick dinner when you want something that feels fun without turning into a project.
This version leans on a simple seasoning mix that gives the chicken enough flavor to stand up to all that cheese without tasting heavy. Using two cheeses helps the filling melt smoothly: cheddar brings the sharper bite, while Monterey Jack keeps things soft and gooey. A little green onion adds a fresh note, but it stays mild enough for picky eaters. Cooking them over medium-low heat is the part that matters most here, because tortillas brown before the cheese has a chance to melt if the pan runs too hot.
Below, you’ll find the little tricks that keep these quesadillas crisp instead of greasy, plus a few swaps for different ages, diets, and leftovers. The method is simple, but a couple of small details make the difference between a torn, overfilled quesadilla and one that slices cleanly into neat, snackable wedges.
The tortillas got crisp without getting greasy, and the cheese melted all the way through before the outside overbrowned. My kids ate two each and asked for them in their lunch the next day.
Save these mini chicken quesadillas for a crisp, cheesy lunch that holds together in little hands and packs well for later.
The Reason Mini Quesadillas Stay Crisp Instead of Going Soggy
The biggest mistake with quesadillas is packing them too full or cooking them too fast. When the heat is too high, the tortilla browns before the cheese melts, so you end up with a dry shell and a cold center. When the filling is piled too generously, the tortilla steams around the edges and the whole thing slides apart when you cut it.
Mini quesadillas solve both problems. The smaller surface area means the heat reaches the middle faster, and the filling stays balanced inside the tortilla instead of pushing out the sides. That also gives you more control when cooking in batches, since each one can be pressed gently in the skillet and flipped without tearing.
- Medium-low heat gives the cheese time to melt before the tortillas overcolor.
- A light brush of butter helps the outside turn crisp and deep golden without tasting greasy.
- A small border around the filling keeps the seams sealed as the cheese melts and spreads.
What Each Ingredient Is Actually Doing in This Dish
- Cooked chicken breast — Finely shredded chicken is the right choice because it tucks into a thin layer and heats through quickly. Rotisserie chicken works well here, and it saves time as long as you shred it small enough that the filling doesn’t clump.
- Cheddar and Monterey Jack — Cheddar brings flavor, but Monterey Jack is what gives you that smooth melt. If you only use cheddar, the filling can turn a little dry and stiff; the blend keeps the quesadillas creamy inside.
- Green onions — These add a mild onion note without overpowering the chicken. If you’re cooking for a child who dislikes visible bits, mince them finely or leave them out entirely.
- Small flour tortillas — Use the softest tortillas you can find. Thicker tortillas hold up better if the quesadillas will be packed for lunch, while thinner ones crisp faster at the edges.
- Butter — Butter gives the tortilla a richer color and flavor than oil. If you need a dairy-free version, use a neutral oil and accept a slightly less toasty finish.
The Gentle Heat That Melts the Cheese Before the Tortilla Burns
Season the Chicken First
Stir the chicken with the garlic powder, cumin, smoked paprika, and salt until every piece is coated. The spices cling better when the chicken is already cooked and shredded, and that means the flavor distributes evenly instead of staying in a few clumps. If the chicken seems dry, a spoonful of melted butter from the pan or a tiny splash of water helps the seasoning spread without making the filling wet.
Build the Layers with a Light Hand
Lay out half the tortillas and divide the chicken evenly, keeping the filling away from the very edge. Top with the cheese mixture, then cap each one with another tortilla and press gently so the layers settle. Overfilling is the fastest way to get a messy flip, so keep the mound low and even.
Cook Until the Outside Is Deep Golden
Brush the skillet lightly with butter and cook the quesadillas over medium-low heat. You want to hear a soft sizzle, not an aggressive crackle. After 2 to 3 minutes, lift an edge and check for a deep golden underside; if it browns too quickly, the pan is too hot. Flip once, then cook the second side until the cheese is fully melted and the tortilla feels crisp when tapped.
Let Them Rest Before Cutting
Give the quesadillas about 2 minutes on the board before slicing. That short rest keeps the cheese from spilling out the second the knife goes in, and it helps the filling set just enough for clean wedges. A sharp knife or pizza cutter works best for the neatest little triangles.
How to Adapt These for Different Eaters and Different Days
Dairy-Free Quesadillas
Swap the butter for neutral oil and use a dairy-free melting cheese blend. The result will still crisp nicely, but the filling won’t stretch and melt quite as luxuriously as the cheddar-Monterey Jack combination.
Gluten-Free Version
Use certified gluten-free corn tortillas or a gluten-free flour-style tortilla that bends without cracking. Corn tortillas taste great here, but they need to be warmed first so they don’t split when you fold or top them.
Milder Kid Version
Leave out the green onions and reduce the smoked paprika to a pinch. You’ll get a softer, more classic chicken-and-cheese quesadilla flavor that still tastes seasoned but stays very kid-friendly.
Storage and Reheating
- Refrigerator: Store cooked quesadillas in an airtight container for up to 3 days. The tortillas soften a little in the fridge, but they still reheat well.
- Freezer: They freeze better than you might expect. Wrap each cooled quesadilla tightly and freeze for up to 2 months, then thaw in the fridge before reheating for the best texture.
- Reheating: Rewarm in a dry skillet over medium-low heat so the tortilla crisps back up. Microwaving works in a pinch, but it softens the exterior and can make the filling unevenly hot.
Answers to the Questions Worth Asking
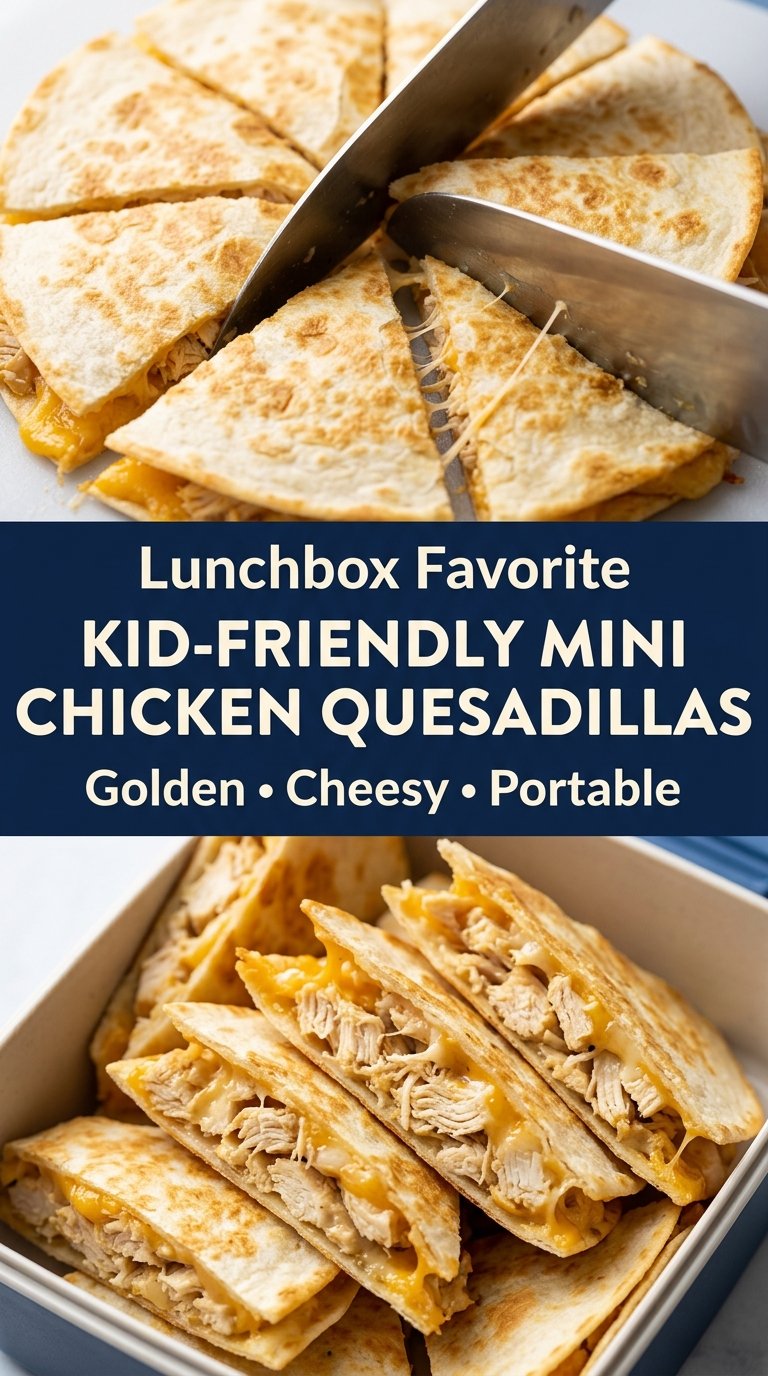
Kid-Friendly Mini Chicken Quesadillas
Ingredients
Equipment
Method
- In a medium bowl, combine cooked chicken breast, garlic powder, ground cumin, smoked paprika, and salt. Stir until the chicken is evenly seasoned and looks uniformly speckled.
- In a separate bowl, mix shredded cheddar cheese, shredded Monterey Jack cheese, and green onions. Toss until the green onions are distributed throughout the cheeses.
- Arrange six small flour tortillas on a clean work surface. Keep them flat so you can add fillings evenly.
- Divide the seasoned chicken evenly among the tortillas, leaving a small border around each edge. Spread it in an even layer so it doesn’t reach the rim.
- Sprinkle the cheese mixture generously over the chicken. Cover completely so the cheese can melt into a single layer.
- Top each portion with another small flour tortilla and press gently. Use light pressure to help the tortillas seal together without squeezing out filling.
- Brush a large skillet lightly with some of the melted butter. Heat over medium-low heat until the surface is warm and ready to sizzle lightly.
- Cook the quesadillas in batches for 2–3 minutes per side on medium-low heat. Flip when tortillas are crisp and golden and the underside is lightly browned.
- Brush with the remaining melted butter as needed during cooking. Continue until tortillas are crisp and golden and the cheese has completely melted.
- Rest the quesadillas for 2 minutes before cutting. This helps the melted cheese set slightly so wedges hold their shape.
- Cut each quesadilla into four small wedges. Serve warm, or cool completely before packing into lunch containers.
