
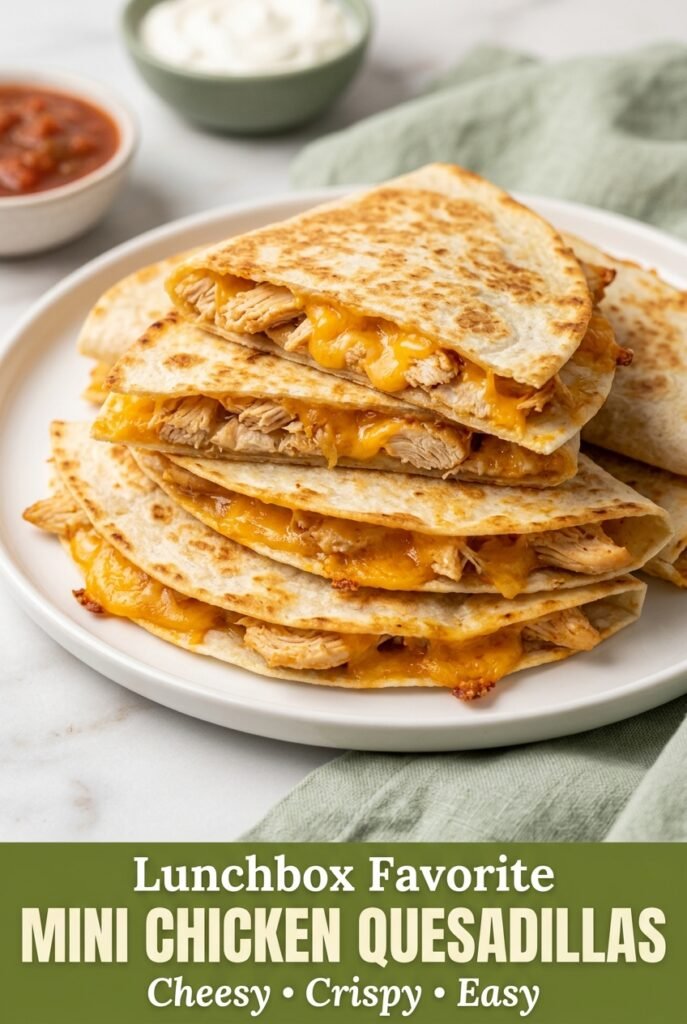
Kid-Friendly Mini Chicken Quesadillas
Crispy little quesadillas with melted cheese in every bite disappear fast, and that’s exactly why these mini chicken quesadillas earn repeat status. The tortillas turn deeply golden in the skillet…
Tip: save now, read later.
Crispy little quesadillas with melted cheese in every bite disappear fast, and that’s exactly why these mini chicken quesadillas earn repeat status. The tortillas turn deeply golden in the skillet while the centers stay soft, cheesy, and easy for small hands to hold. They work for lunch, dinner, or that late-afternoon stretch when everyone wants something warm but not fussy.
The trick is in the filling. The chicken gets seasoned before it ever meets the tortilla, which means every bite tastes complete instead of like plain shredded chicken tucked inside cheese. A thin layer of cheese on both sides of the chicken helps glue everything together and keeps the tortillas from sliding apart when you cut them. Softened butter on the outside gives you a better crust than oil alone and helps the tortillas brown evenly without getting greasy.
Below, I’ve included the detail that matters most for keeping these crisp, a couple of smart swaps, and the storage notes you’ll want if you’re packing them for later.
The chicken stayed juicy and the tortillas got perfectly crisp without falling apart. I packed them in lunchboxes and they were still a big hit cold the next day.
These kid-friendly mini chicken quesadillas stay crisp, cheesy, and lunchbox-ready.
The Secret to Keeping Mini Quesadillas Crispy Instead of Soggy
Mini quesadillas go soft fast when the filling is wet or the pan is too hot. Salsa can be a nice flavor boost, but it adds moisture, so keep it optional and use just enough to coat the chicken lightly. If the chicken mixture looks loose in the pan, cook it for another minute before filling the tortillas so the steam doesn’t get trapped inside.
The other thing that matters is how much filling you use. These little tortillas don’t have room for a big mound of chicken, and overfilling is the fastest way to get torn seams and cheese leaking into the skillet. A thin layer of cheese on the bottom and top gives you that sealed, melty center without turning the quesadilla into a mess.
What Each Ingredient Is Actually Doing in These Quesadillas
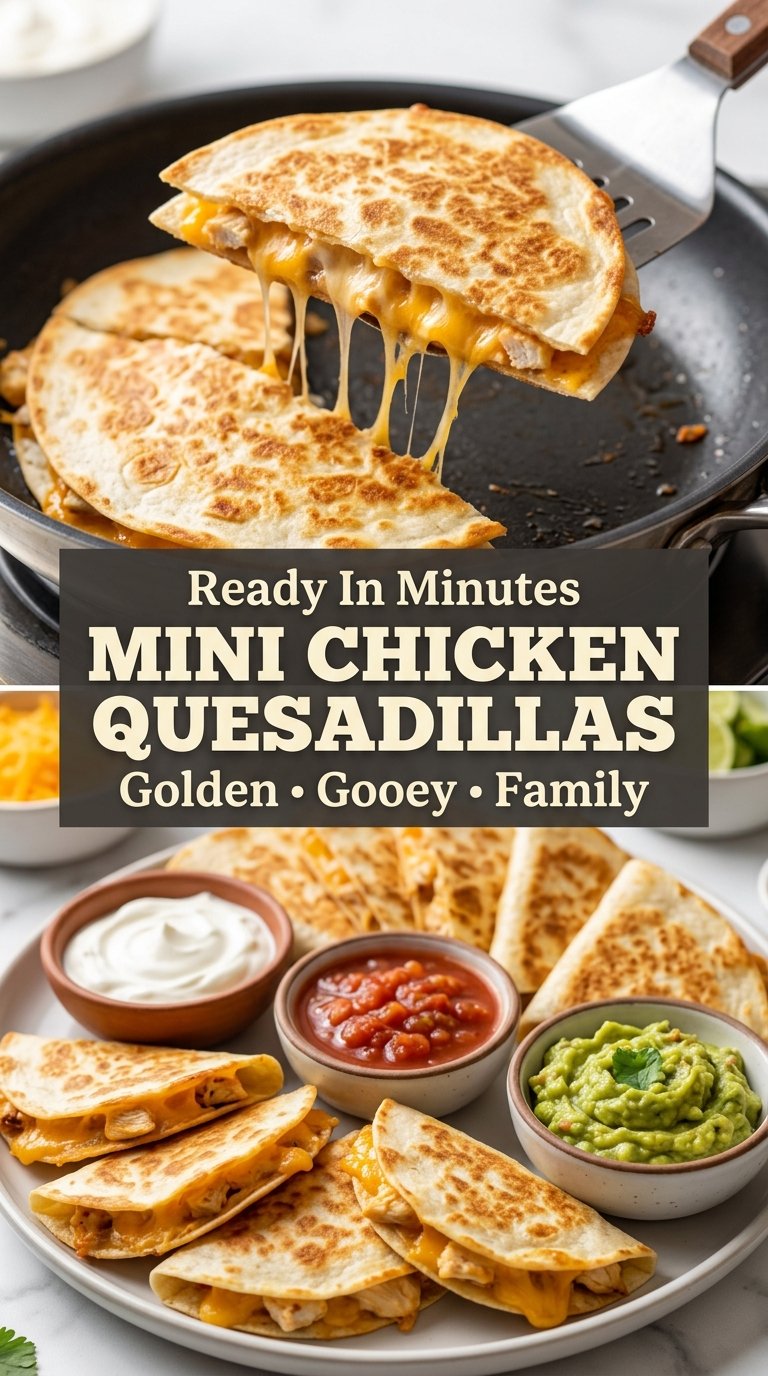
- Cooked shredded chicken — Finely shredded chicken spreads evenly through the mini tortillas and heats quickly without drying out. Rotisserie chicken works well here if you want a shortcut, but chop or shred it smaller than you think you need so the quesadillas stay easy to bite.
- Mild cheddar cheese — This is the glue and the comfort factor. Mild cheddar melts smoothly and keeps the flavor kid-friendly, but you can swap in Monterey Jack for a softer melt or use a blend if you want a little more stretch.
- Mini flour tortillas — The small size makes these easier to flip, crisp, and pack. Larger tortillas can work in a pinch, but they’ll need more filling and take longer to brown, which defeats the point of making them mini.
- Softened butter — Butter on the outside gives the tortillas a better color and a richer crunch than dry heat alone. If you need a dairy-free version, use a neutral oil brushed lightly over the outside, though the crust won’t taste quite as rich.
- Smoked paprika, garlic powder, and onion powder — These seasonings give the chicken enough backbone that the filling doesn’t taste flat under the cheese. Smoked paprika is the one I wouldn’t skip if you want the filling to taste rounded and savory instead of just salty.
- Salsa — Optional, but useful if your chicken tastes a little plain. Use a thicker salsa so you add flavor without flooding the filling with liquid.
Building the Filling and Browning the Tortillas Without Burning Them
Wake Up the Chicken First
Warm the shredded chicken with the seasonings before assembling anything. You want the chicken hot and fragrant, with the spices coating every strand, but not swimming in liquid. If you add wet filling straight into the tortillas, the cheese will melt before the tortilla has a chance to crisp, and the whole thing turns soft instead of crunchy.
Layer Cheese, Chicken, Cheese
Sprinkle cheese on one half of each tortilla, add a thin layer of chicken, then finish with a little more cheese. That second layer is what helps hold everything together as it melts. Keep the filling away from the edge so the tortilla can seal as it folds; if it’s packed right to the rim, the cheese will leak out and stick to the pan.
Cook Low Enough for the Center to Melt
Set the skillet over medium heat, not medium-high. The outside should turn golden in 2 to 3 minutes per side, but the real goal is a fully melted center, and that happens when the pan gives the cheese time to soften before the tortilla gets too dark. If the tortillas are browning too fast, lower the heat and give them another minute.
Let Them Rest Before Cutting
Give the quesadillas a short rest on the cutting board before slicing. The cheese settles for a minute, which keeps the halves from sliding apart when you cut them. If you slice immediately, the filling spills out and the edges look messy even though the flavor is still there.
Three Smart Ways to Adjust These Quesadillas
Make Them Dairy-Free
Use a dairy-free shredded cheese that melts well and brush the outsides with oil instead of butter. The texture will still be crisp, but the flavor will be a little less rich, so the seasoning on the chicken matters even more.
Turn Them Into a Vegetarian Lunch
Swap the chicken for finely chopped sautéed mushrooms, black beans, or mashed pinto beans. Mushrooms need to be cooked until the moisture cooks off, while beans give you a softer, creamier filling that works especially well with the cheddar.
Make a Bigger Batch for the Freezer
Cook the quesadillas, cool them completely, then wrap them individually before freezing. They reheat better when they’re already browned, and the smaller size means you can pull out just what you need without thawing the whole batch.
Storage and Reheating
- Refrigerator: Store in an airtight container for up to 3 days. The tortillas soften a little, but the flavor stays good.
- Freezer: These freeze well once cooked. Wrap individually and freeze for up to 2 months so they don’t stick together.
- Reheating: Reheat in a skillet over medium-low heat or in a 375°F oven until the outside crisps again and the center is hot. The common mistake is microwaving them too long, which makes the tortillas chewy instead of crisp.
Answers to the Questions Worth Asking
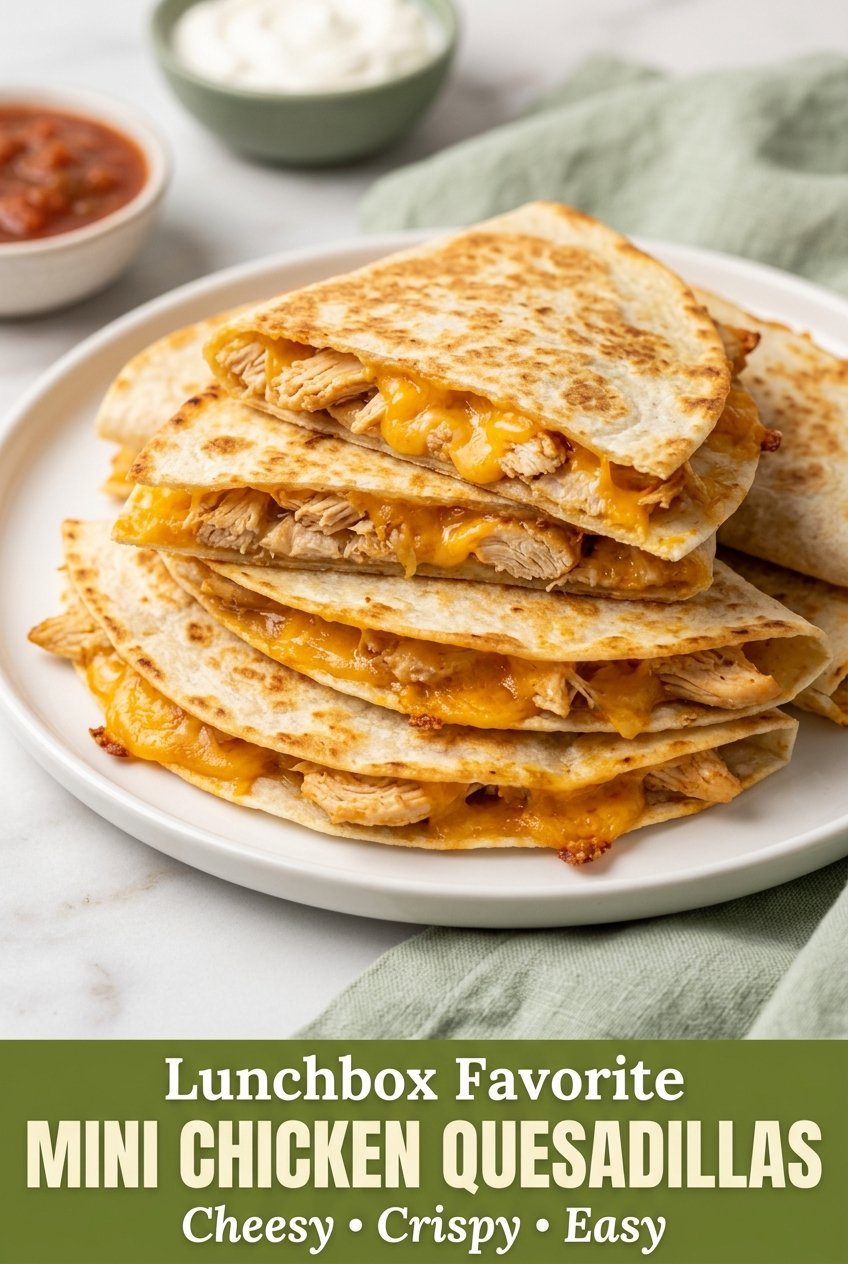
Kid-Friendly Mini Chicken Quesadillas
Ingredients
Equipment
Method
- Heat the olive oil in a skillet over medium heat, then add the shredded chicken, garlic powder, onion powder, smoked paprika, salt, pepper, and salsa if using. Cook for 3–4 minutes until heated through, stirring so the spices coat the chicken evenly.
- Lay the mini tortillas on a clean surface and sprinkle a thin layer of cheddar cheese over half of each tortilla. This creates a melty base where the chicken can stick.
- Divide the seasoned chicken evenly among the tortillas, then top with the remaining cheddar cheese. Keep the edges relatively clear so they crisp when folded.
- Fold each tortilla in half and lightly spread the outsides with softened butter. The butter helps the exterior turn golden and crunchy.
- Heat a large nonstick skillet over medium heat and add the quesadillas. Cook for 2–3 minutes per side until golden brown and the cheese is fully melted.
- Transfer the quesadillas to a cutting board and let them cool for 2 minutes. This firms the cheese slightly so your slices hold together.
- Slice each mini quesadilla into halves or quarters. Serve warm for best melt and crunch.
- Serve with sour cream, mild salsa, guacamole, and a sprinkle of fresh cilantro if desired. Add toppings on the side so the tortillas stay crisp longer.
