
Sheet Pan Shrimp Fajitas
Sheet pan shrimp fajitas hit that sweet spot where dinner feels lively and fast without asking for much cleanup. The shrimp stay juicy, the peppers soften at the edges, and…
Tip: save now, read later.
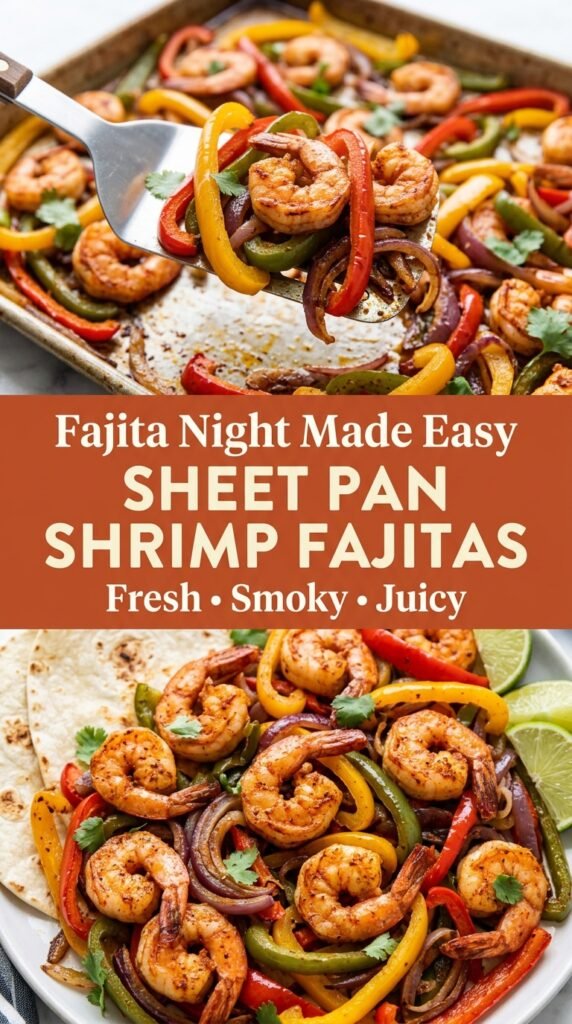
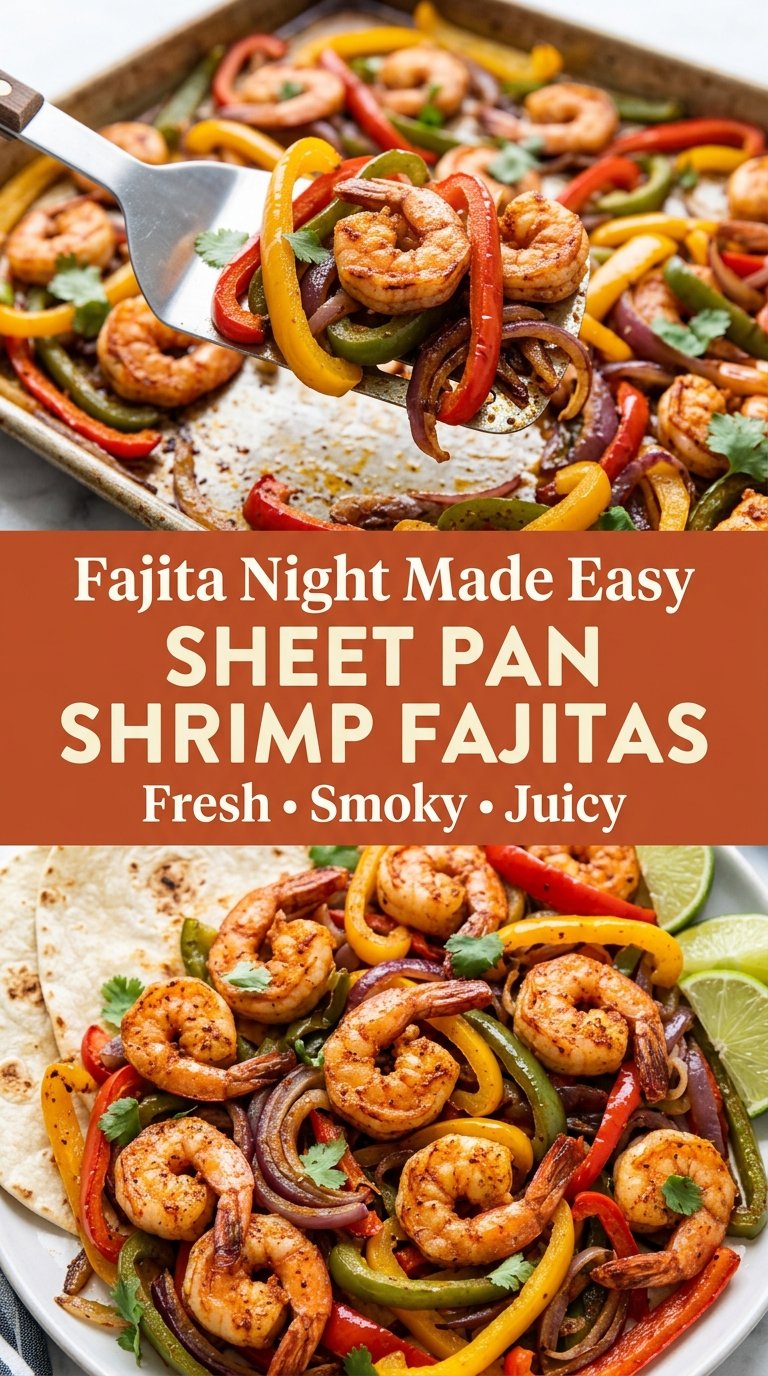
Sheet pan shrimp fajitas hit that sweet spot where dinner feels lively and fast without asking for much cleanup. The shrimp stay juicy, the peppers soften at the edges, and the onions pick up enough color in the oven to taste sweet instead of sharp. Everything lands on the table hot, fragrant, and ready for tortillas.
The trick is giving the vegetables a head start. Shrimp cook in a narrow window, and if they go onto the pan too early they turn rubbery before the peppers are done. Roasting the vegetables first lets them soften and caramelize while the shrimp only need a few minutes at the end. A hot oven and a dry shrimp surface also matter here, because moisture is the enemy of browning.
Below, I’ll walk through the timing that keeps the shrimp tender, the seasoning balance that makes the pan taste like fajitas instead of plain roasted vegetables, and a few smart swaps if you want to stretch this into another meal.
The peppers got those roasted edges I never seem to get in a skillet, and the shrimp were still tender at 8 minutes. I’ll be using this method again because the tortillas soaked up all the limey juices on the pan.
Save these sheet pan shrimp fajitas for the nights when you want caramelized peppers, tender shrimp, and one pan to clean.
The Pan Needs a Head Start, or the Shrimp Overcook
Most shrimp fajita recipes run into the same problem: the shrimp finish before the vegetables have enough color, or the vegetables get where you want them and the shrimp turn tough. This version fixes that by roasting the peppers and onions first, then adding the shrimp only when the pan is already hot and the vegetables are starting to soften. That staggered timing is what gives you browned edges on the vegetables without sacrificing the shrimp.
The other thing that matters is spacing. If the vegetables are piled up, they steam and turn soft instead of picking up those lightly charred spots that make fajitas taste finished. A large sheet pan gives the peppers room to breathe, and the high heat does the rest. You’re looking for softened onions, peppers with a few blistered spots, and shrimp that curl into a loose C rather than a tight O.
What Each Ingredient Is Actually Doing in This Dish
- Large shrimp — Bigger shrimp are less likely to overcook while the pan finishes. Pat them dry before seasoning so the oil and spices cling instead of sliding off. Medium shrimp work too, but cut the final roast time by a minute or two and watch them closely.
- Bell peppers and red onion — These are the backbone of the pan. The mix gives you sweetness, color, and enough moisture to carry the seasoning. Yellow onions can work in place of red onion, but red onion softens with a little more sweetness and looks better against the shrimp.
- Olive oil — You need enough to coat the vegetables lightly and help the spices bloom in the oven. Extra-virgin is fine here because the oven heat is doing the cooking, not a hard sear. If you swap in another oil, use one with a neutral flavor and a similar smoke point.
- Chili powder, cumin, smoked paprika, garlic powder, and oregano — This is the fajita backbone. Chili powder brings depth, cumin gives that warm savory note, smoked paprika adds a little campfire flavor, and oregano keeps it from tasting flat. If you only have regular paprika, the dish still works, but you’ll lose that subtle smoky edge.
- Lime juice and cilantro — Don’t skip these at the end. The lime wakes up the roasted vegetables and keeps the shrimp from tasting heavy, while cilantro adds freshness right before serving. If cilantro tastes soapy to you, use sliced green onions instead.
The 10-Minute Roast That Gives You Real Fajita Flavor
Roasting the Vegetables First
Spread the peppers and onion over the parchment-lined sheet pan and toss them with oil and half the seasoning. Roast them for 10 minutes so they can start collapsing and browning before the shrimp show up. If the vegetables look wet and glossy when they come out, they need more time in the oven; you want them slightly softened with a few browned edges.
Seasoning the Shrimp Separately
Pat the shrimp dry, then toss them with the remaining oil and seasoning in a bowl. That extra step keeps the spices from clumping on the pan and gives the shrimp a more even coating. If your shrimp are already wet when they hit the tray, they’ll steam instead of taking on any color.
Finishing the Pan at the Right Moment
Scatter the shrimp among the vegetables and return the pan to the oven for 7 to 9 minutes. The shrimp are done when they’re opaque all the way through and just curled into a loose C shape. If they curl tightly into a ring, they’ve gone past tender, and the only fix is to pull them out sooner next time.
The Lime-and-Cilantro Finish
Squeeze the lime over the pan while everything is still hot so the juice mingles with the pan drippings. Add the cilantro right at the end so it stays bright and doesn’t wilt into the vegetables. Serve immediately with warmed tortillas, because fajitas lose their best texture once they sit and steam.
Three Ways to Adjust the Pan Without Losing the Fajita Feel
Make It Dairy-Free and Naturally Gluten-Free
The filling itself is already dairy-free, and you can keep it gluten-free by serving it with corn tortillas instead of flour tortillas. Warm the tortillas in a dry skillet or directly over a low flame so they stay flexible. The flavor stays the same, but corn tortillas bring a little more corn aroma and a slightly sturdier bite.
Swap the Shrimp for Chicken
Thinly sliced chicken breast or thigh can take the shrimp’s place if you want a meatier fajita filling. Chicken needs more time, so roast the vegetables first, add the seasoned chicken, and keep the pan in the oven until the pieces are cooked through and no longer pink at the center. You’ll get a sturdier, less delicate bite, and the seasoning holds up well.
Add More Heat Without Overpowering the Pan
A pinch of cayenne or a few sliced jalapeños tucked in with the vegetables will give you a sharper finish. Keep the amount modest, because the roasted peppers and lime need room to taste like themselves. The goal is a warm burn at the back of the bite, not a pan that tastes like hot sauce.
Stretch It Into Bowls Instead of Tacos
Serve the shrimp and vegetables over rice, cilantro-lime rice, or even cauliflower rice if you want a lower-carb meal. This keeps all the roasted juices in the bowl, which is honestly one of the best parts of the dish. You lose the handheld taco experience, but you gain a fork-friendly dinner that reheats more easily the next day.
Storage and Reheating
- Refrigerator: Store the shrimp and vegetables in an airtight container for up to 2 days. The peppers will soften a bit more, but the flavor holds well.
- Freezer: I don’t recommend freezing the finished fajita filling. Shrimp can turn rubbery after thawing, and the peppers lose their texture.
- Reheating: Warm leftovers in a skillet over medium-low heat just until heated through, or use short bursts in the microwave. The biggest mistake is blasting the shrimp too long, which dries them out fast. Add a fresh squeeze of lime after reheating to wake everything back up.
Answers to the Questions Worth Asking
Sheet Pan Shrimp Fajitas
Ingredients
Equipment
Method
- Preheat the oven to 425°F and line a large rimmed sheet pan with parchment paper. The pan is ready when the oven reaches temperature.
- Add the red, yellow, and green bell peppers and the red onion to the prepared sheet pan. Spread them into an even layer for roasting.
- Drizzle the vegetables with 1½ tbsp olive oil, then add half the chili powder, cumin, paprika, garlic powder, oregano, kosher salt, and black pepper. Make sure seasoning is scattered over all vegetables.
- Toss the vegetables thoroughly so every piece is coated. Roast for 10 minutes at 425°F, until they start to soften and show light browning at the edges.
- Pat the shrimp dry, then toss them with the remaining olive oil and the remaining seasonings. Coat the shrimp so they look evenly speckled with spices.
- Remove the sheet pan from the oven and arrange the seasoned shrimp among the partially roasted peppers and onions. Nestle them into the vegetable layer so heat cooks the shrimp quickly.
- Roast for another 7–9 minutes at 425°F until the shrimp are opaque and cooked through. Look for firm, curled shrimp with no translucent center.
- Squeeze the lime juice over the shrimp and vegetables. The pan should look glossy as the citrus hits the hot surfaces.
- Finish with the chopped cilantro. Serve right away with warm tortillas and additional lime wedges.
