
Spiced Apple Galette
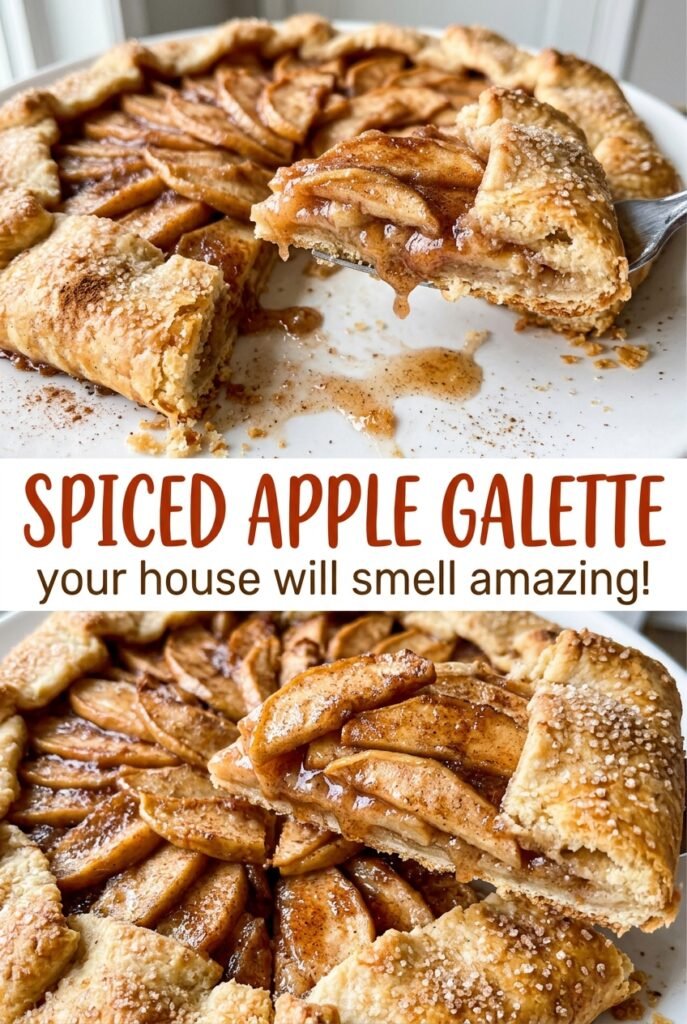
When the galette comes out of the oven, the crust should be bronzed at the folds while the apple slices still show their shape. That contrast is what I want…
Tip: save now, read later.
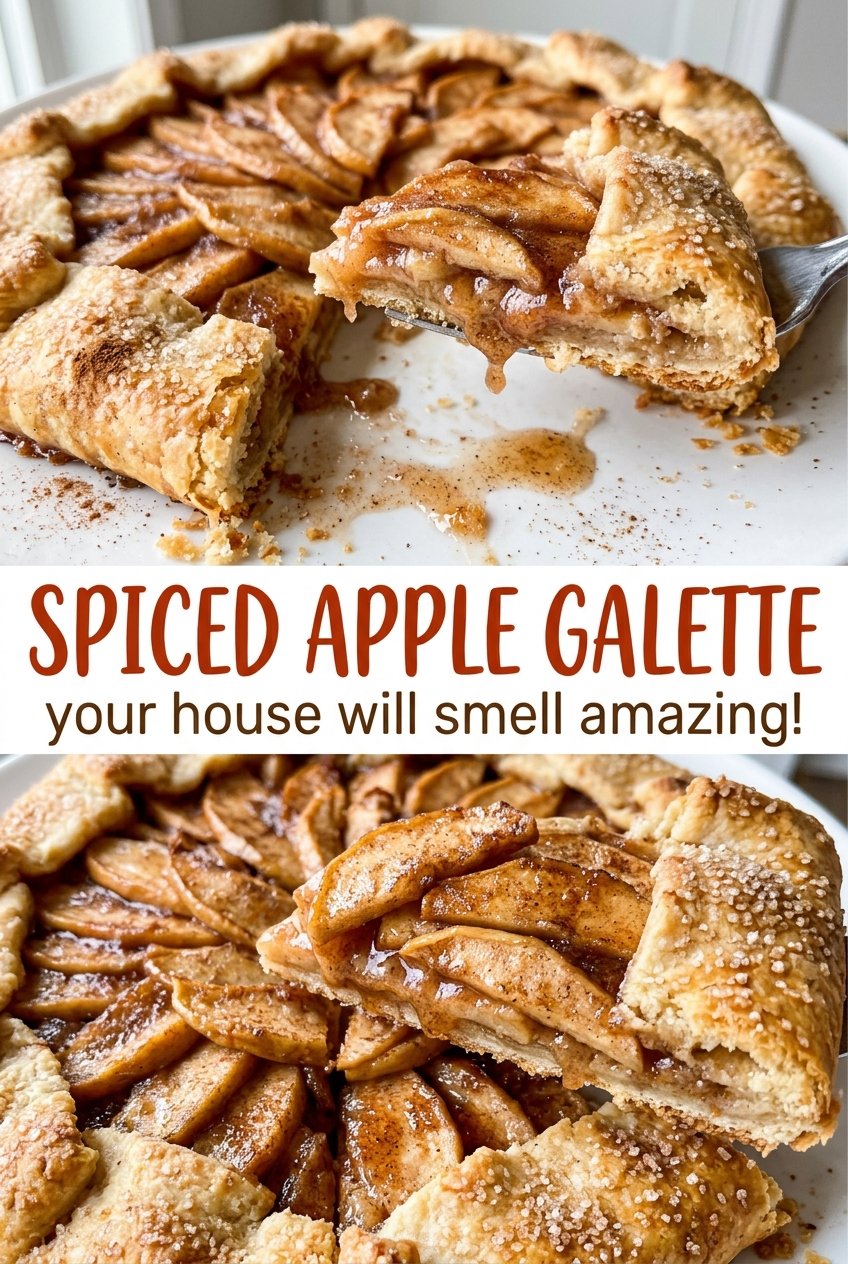
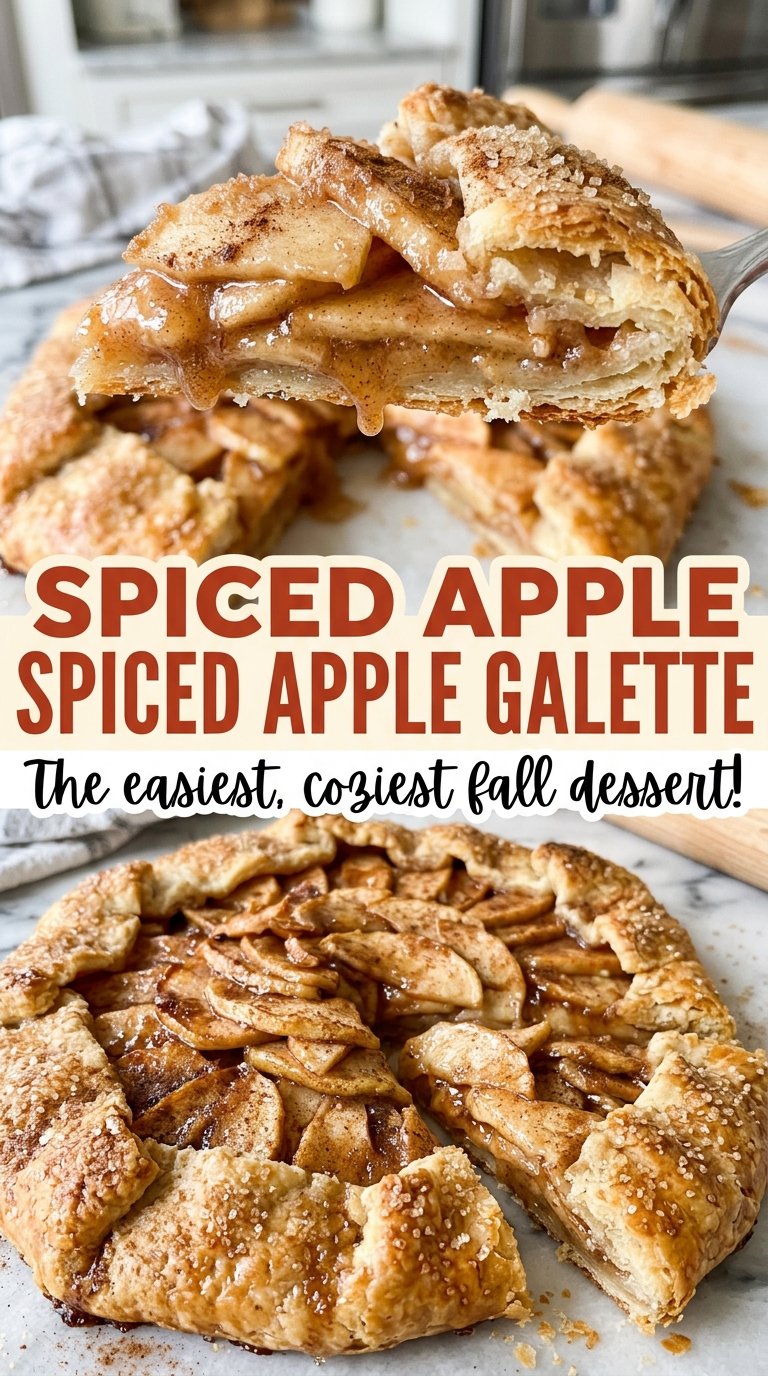
When the galette comes out of the oven, the crust should be bronzed at the folds while the apple slices still show their shape. That contrast is what I want from this Spiced Apple Galette: a crisp, buttery edge around tender fruit, without the fuss of fitting pastry into a pie plate. The first time I made one, I worried the open sides would let all the juices run out. A little cornstarch in the filling keeps the apples glossy and the pastry from turning soggy.
The free-form shape is forgiving, but the dough still needs time to chill before rolling. I keep the apples in an even layer and fold the border over them in loose pleats; it doesn’t need to look perfectly symmetrical. A brush of egg and a sprinkle of turbinado sugar give the crust a golden finish with a little crunch. Once it cools, each slice holds together with soft, cinnamon-scented apples inside.
Kitchen Note
Give the dough its full hour in the refrigerator before rolling. Cold pastry is much easier to handle on the baking sheet, and the folds stay neat instead of stretching thin.
Save this Spiced Apple Galette for its golden, sugared crust and tender cinnamon apples tucked into a buttery free-form pastry.
Why a Galette’s Pleated Edge Is More Forgiving Than a Pie Crust
A galette has no pie plate to support its sides, and that’s part of what makes it relaxed to assemble. You roll the pastry into a broad round, pile the fruit in the center, then fold the border over the outer slices. Those overlapping folds create a sturdy rim while leaving the middle open. A circle that’s a little uneven won’t hurt the finished pastry; the folds give it a handmade look rather than asking for a perfect fluted edge.
The open center also means there’s no top crust to trap steam over the fruit. The apples bake uncovered, while the folded pastry turns crisp and deeply golden. Keep the fruit centered and leave the border clear before folding, so the dough has room to sit over the filling instead of sliding underneath it. The result is easier to shape than a double-crust pie, but still slices into a lovely wedge with plenty of pastry around each serving.
What the Apples, Butter, and Spices Each Bring to This Galette
- Firm apples — Firm fruit holds its shape through baking instead of collapsing into applesauce. Since the apples are peeled, cored, and sliced, choose for firmness and flavor rather than appearance. A softer apple tends to make a looser, less distinct filling.
- Cold unsalted butter — Small cold pieces create the tender, flaky texture in the crust. Unsalted butter lets the kosher salt stay in balance; use a fresh butter you like, since its flavor is easy to notice in a short pastry ingredient list.
- All-purpose flour — It gives the dough enough structure to roll and fold around the filling. For a gluten-free version, a cup-for-cup gluten-free baking blend is the most practical swap; the pastry will be more delicate and less stretchy.
- Lemon juice and cornstarch — Lemon juice keeps the sweet filling bright, while cornstarch thickens the juices released by the apples. Stir them through the fruit evenly so there aren’t dry pockets of starch in the finished filling.
- Cinnamon and nutmeg — Cinnamon gives the apples their familiar warmth, and a small amount of nutmeg adds a deeper, rounded note. Ground spices are fine here; freshness matters most if the jars have been sitting open for a long time.
- Egg and turbinado sugar — The beaten egg helps the folded crust bake to a glossy golden brown, and the coarse sugar adds a crisp, sparkling top. Turbinado’s larger crystals give more crunch than regular granulated sugar.
From Cold Dough to a Golden, Tender Apple Center
Bring the Dough Together Without Warming the Butter
Whisk the flour and kosher salt in a large bowl, then cut in the cold butter with a pastry cutter or your fingertips. Stop when the pieces are about pea-size; a few visible bits of butter are what you want, not a smooth paste. Drizzle in 4 tablespoons of ice water and toss until the dough starts to clump, adding more water 1 tablespoon at a time only if it still looks dry. Press it into a disk, wrap it, and refrigerate for 1 hour.
Coat the Apples Evenly
Toss the peeled, cored apple slices with the granulated sugar, lemon juice, cornstarch, cinnamon, and nutmeg. Turn the slices until the mixture is distributed across the fruit, with no obvious white cornstarch clumps. The apples should look lightly coated, not buried in a thick paste. Set the filling aside while you get the baking sheet and oven ready.
Fold the Border Over the Fruit
Heat the oven to 400°F and line a large rimmed baking sheet with parchment paper. Place the chilled dough on the prepared sheet and roll it into a 12-inch round. Arrange the apples in the center, leaving a 2-inch border, then bring that border over the fruit in pleats; let the folds overlap naturally rather than pulling the dough tight. Beat the egg in a small bowl, brush it over the folded crust, and sprinkle the crust with turbinado sugar.
Bake Until the Crust Is Golden
Bake for 40 to 50 minutes, until the crust is golden brown and the apples are tender. Look for color along the folded edges, not just on the top surface; pale pastry needs more time to brown. The apples should yield when pierced, but the slices should still be recognizable. Let the galette cool on the baking sheet for 20 minutes before slicing so the filling has time to settle.
Simple Ways to Change the Apples or Make a Gluten-Free Crust
Choose a Tart, Firm Apple
For a sharper fruit flavor, use firm tart apples such as Granny Smith in place of a sweeter firm variety. The filling will taste brighter and less sugary, while the slices will still hold their shape through baking.
Make the Pastry Gluten-Free
Replace the all-purpose flour with the same amount of cup-for-cup gluten-free baking flour. Choose a blend intended for baking, ideally one that includes xanthan gum; the dough won’t stretch as readily, so handle it gently when folding and expect a slightly more crumbly edge.
Storage and Reheating
- Refrigerator: Cover and refrigerate leftovers for up to 3 days. The pastry softens as it sits, but the apple filling keeps well.
- Freezer: Freeze fully cooled slices, wrapped tightly, for up to 2 months. Thaw them in the refrigerator before reheating.
- Reheating: Warm slices in a 350°F oven until heated through, about 10 to 15 minutes. The microwave is quicker, but it softens the crust instead of bringing back its crisp edges.
Questions That Come Up When Baking an Apple Galette
Spiced Apple Galette
Ingredients
Equipment
Method
- Whisk the flour and salt in a large bowl.
- Cut in the cold butter with a pastry cutter or your fingertips until the pieces are pea-size.
- Drizzle in 4 tablespoons ice water and toss until the dough begins to clump, adding more water 1 tablespoon at a time as needed.
- Press the dough into a disk, wrap it, and refrigerate for 1 hour.
- Toss the apples with the granulated sugar, lemon juice, cornstarch, cinnamon, and nutmeg until evenly coated.
- Preheat the oven to 400°F.
- Line a large rimmed baking sheet with parchment paper.
- Place the dough on the prepared baking sheet and roll it into a 12-inch round.
- Arrange the apples in the center, leaving a 2-inch border.
- Fold the border over the apples, pleating the dough as needed.
- Beat the egg in a small bowl and brush it over the folded crust.
- Sprinkle the crust with turbinado sugar.
- Bake for 40 to 50 minutes, until the crust is golden brown and the apples are tender.
- Let the galette cool on the baking sheet for 20 minutes before slicing.
