

Spinach and Artichoke Stuffed Mushrooms
A little pool of liquid often appears in the center of a mushroom cap before the filling even goes in. That’s normal, but leaving it there is how a tray…
Tip: save now, read later.
A little pool of liquid often appears in the center of a mushroom cap before the filling even goes in. That’s normal, but leaving it there is how a tray of stuffed mushrooms ends up watery. I bake the caps first, pour off what they release, then fill them with a creamy spinach-artichoke mixture that stays put instead of sliding around.
These spinach and artichoke stuffed mushrooms use the chopped stems, too, so nothing useful from the mushrooms goes to waste. Cooking those stems and the spinach until their moisture is gone gives the filling a thicker, scoopable texture. The cream cheese brings it together, while mozzarella, Parmesan, and panko give each bite a savory, lightly textured finish. They come out of the oven warm and golden, with tender caps that still hold their shape.

Kitchen Note
Let the cream cheese soften before you start mixing. Cold cream cheese tends to break into stubborn lumps, while softened cream cheese blends smoothly with the cheeses and panko off the heat.
Save these spinach and artichoke stuffed mushrooms for a party platter with creamy centers and tender, golden caps.
Why Stuffed Mushrooms Need a Head Start in the Oven
Raw mushrooms release a surprising amount of moisture as they cook. If the filling goes into uncooked caps, that liquid has nowhere to go but into the creamy center, where it can thin the mixture and leave the bottoms wet. A short first bake lets the caps soften and collect their own juices before the filling is involved.
Pouring off that liquid is part of the technique, not an optional cleanup step. The caps are already tender enough to hold their shape, and the second bake heats the filling and finishes the mushrooms together. You get a clearer contrast: a soft, savory mushroom around a thick, cheesy center instead of one uniformly damp bite. Use a rimmed baking sheet so the collected liquid stays contained, and handle the hot caps carefully when you drain them.
What Keeps the Spinach-Artichoke Filling Thick and Scoopable
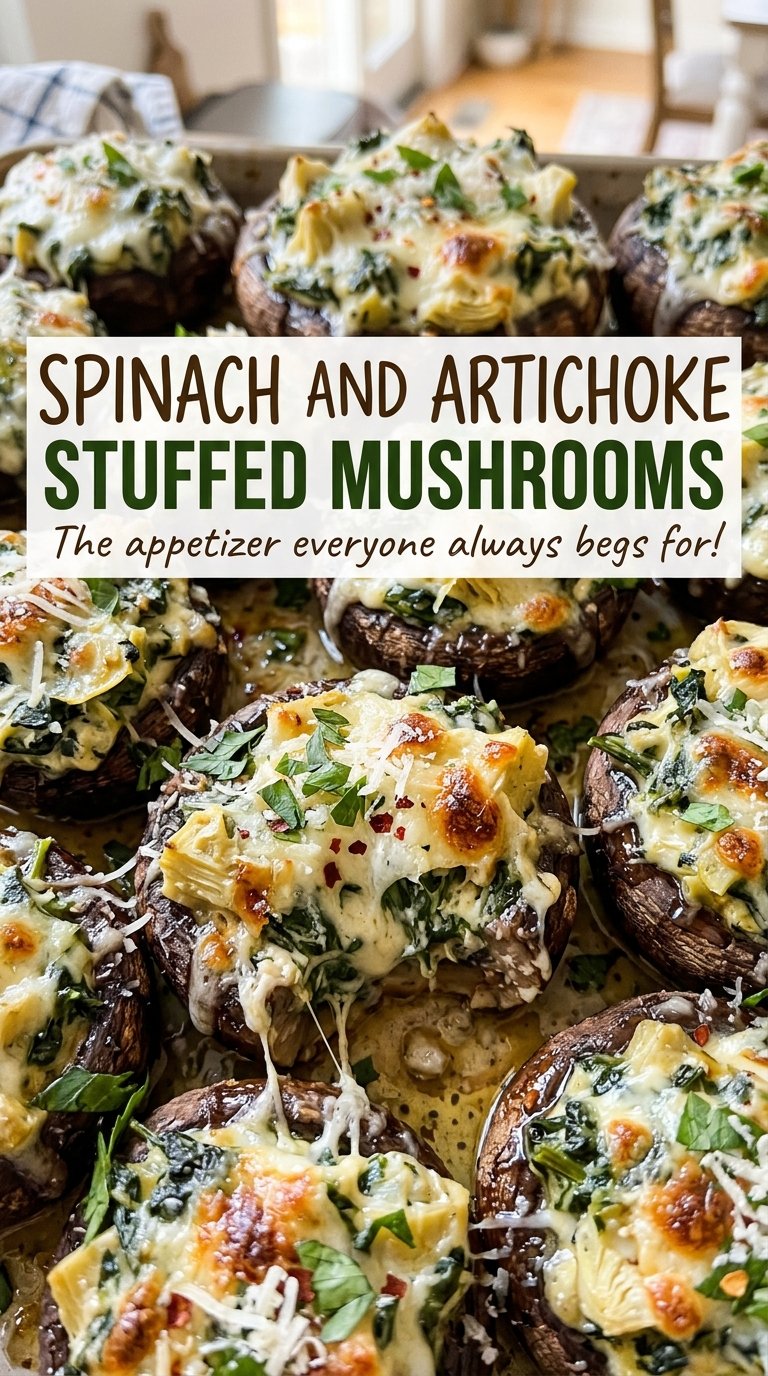
- Large cremini mushrooms — Their broad caps make room for a generous mound of filling, and the chopped stems bring extra mushroom flavor to the skillet. Choose caps that are roughly similar in size so they soften at about the same pace. The stems should be finely chopped; large pieces make the filling harder to spoon neatly.
- Baby spinach and artichoke hearts — Fresh baby spinach wilts quickly, but it needs to cook until its liquid has evaporated before the filling is assembled. Drain the artichoke hearts well and chop them so their pieces are easy to distribute. Jarred or canned hearts both work; the more important detail is getting rid of excess liquid.
- Cream cheese and the two shredded or grated cheeses — Cream cheese gives the filling its creamy body, mozzarella melts into it, and Parmesan adds a saltier, more savory edge. Softened cream cheese blends more evenly than a cold block. Freshly grated Parmesan melts smoothly, though pre-grated works when convenience matters.
- Panko breadcrumbs — Panko gives the filling a little structure without making it dense. For a gluten-free batch, use gluten-free panko in its place; the texture will stay close to the original. Ordinary breadcrumbs are finer and make the filling less airy, so they’re a workable but less crisp-feeling substitute.
Build the Filling After the Mushroom Moisture Is Gone
Soften the caps and drain the collected liquid
Heat the oven to 400°F and line an 18×13-inch rimmed baking sheet with parchment paper. Remove the stems, finely chop them, and set the caps gill side up on the pan; brush the caps with olive oil and season with kosher salt and black pepper. Bake for 10 to 12 minutes, until softened and liquid has collected in the cups. Carefully pour off that liquid before adding any filling.
Cook the chopped stems until tender
Heat olive oil in a 12-inch skillet over medium heat, then add the chopped mushroom stems. Stir and cook for 5 to 7 minutes, until the pieces are tender and most of their moisture has evaporated. They should look softened rather than glossy with liquid. If the skillet still has a noticeable puddle, keep stirring over medium heat until it cooks away.
Wilt the spinach, then mix off the heat
Add the minced garlic and cook for 30 seconds, just until fragrant. Stir in the spinach and cook for 2 to 3 minutes, until wilted and its liquid has evaporated. Take the skillet off the heat before stirring in the chopped artichokes, softened cream cheese, mozzarella, Parmesan, and panko. Keep mixing until the filling looks evenly combined, with no large streaks of cream cheese.
Mound the filling and bake until lightly golden
Spoon the filling into the mushroom caps, mounding it as needed; the caps don’t need to look perfectly flat. Bake for 12 to 15 minutes, until the filling is hot and lightly golden on top. The mushrooms should feel tender when pierced, but still hold their shape when lifted. Let them rest for 5 minutes before serving so the filling settles instead of slipping out at the first bite.
Two Easy Ways to Adapt the Filling
Make the panko gluten-free
Replace the regular panko with gluten-free panko, keeping the same amount. It gives the filling a similar bit of structure; check that the other packaged ingredients you use are also suitable for your needs.
Trade mozzarella for fontina
Use the same amount of shredded fontina in place of the mozzarella. It melts well with the cream cheese and Parmesan, with a richer, nuttier taste and a slightly softer set in the center.
Storage and Reheating
- Refrigerator: Store leftovers in a covered container for 3 to 4 days. The caps soften and release a little moisture as they sit.
- Freezer: Freezing isn’t recommended; thawed mushrooms tend to turn watery and the creamy filling can lose its smooth texture.
- Reheating: Warm them in a 400°F oven until hot throughout. The microwave is quicker, but it can make the mushroom caps soft and rubbery.
Questions That Come Up Before the Tray Goes in the Oven
Spinach and Artichoke Stuffed Mushrooms
Ingredients
Equipment
Method
- Preheat the oven to 400°F and line an 18x13-inch rimmed baking sheet with parchment paper.
- Remove the stems from the mushrooms and finely chop the stems.
- Arrange the mushroom caps gill side up on the baking sheet, brush with 1 tablespoon olive oil, and season with the salt and pepper.
- Bake the caps for 10 to 12 minutes, until softened and liquid has collected in them, then carefully pour off the liquid.
- Heat 1 tablespoon olive oil in a 12-inch skillet over medium heat, add the chopped mushroom stems, and cook for 5 to 7 minutes, stirring, until tender and most of their moisture has evaporated.
- Add the garlic and cook for 30 seconds.
- Add the spinach and cook for 2 to 3 minutes, stirring, until wilted and the liquid has evaporated.
- Remove the skillet from the heat and stir in the artichokes, cream cheese, mozzarella, Parmesan, and panko until evenly combined.
- Spoon the filling into the mushroom caps, mounding it as needed.
- Bake for 12 to 15 minutes, until hot and lightly golden on top.
- Rest for 5 minutes before serving.
