
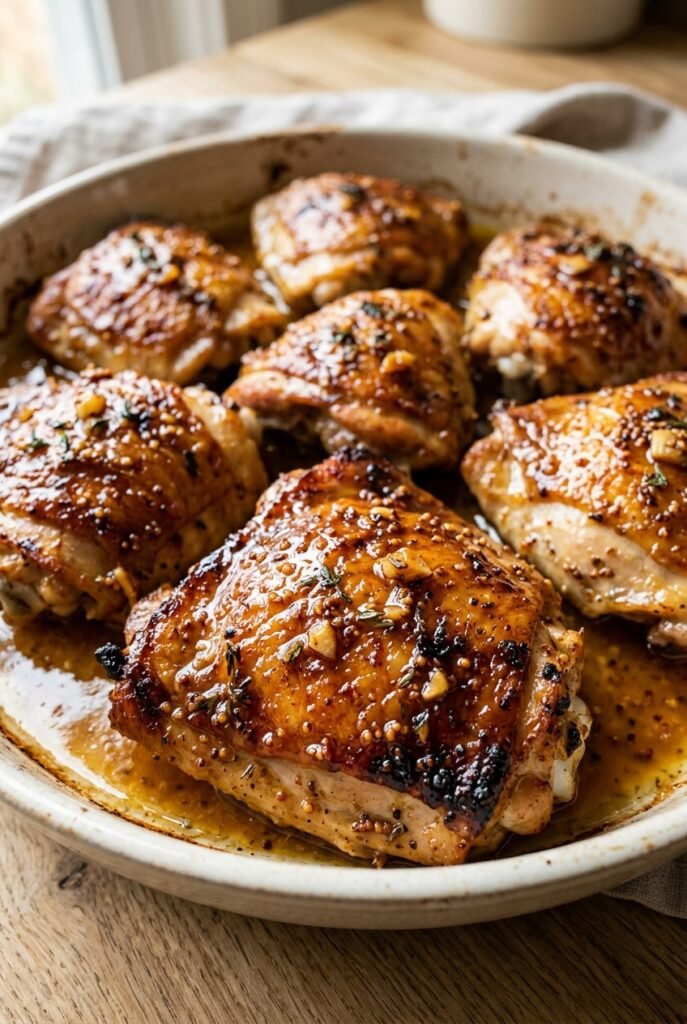
Sticky Maple Dijon Chicken Thighs
Sticky maple Dijon chicken thighs earn a permanent spot in the dinner rotation because they hit the sweet spot between crisp, sticky, and deeply savory. The skin starts out crackly…
Tip: save now, read later.
Sticky maple Dijon chicken thighs earn a permanent spot in the dinner rotation because they hit the sweet spot between crisp, sticky, and deeply savory. The skin starts out crackly from a hot sear, then the glaze bakes down into a glossy coating that clings to every curve of the chicken without turning sugary or thin. You get browned edges, juicy meat, and a sauce that tastes like it took more work than it did.
The trick is building flavor in layers. Drying the chicken well gives the skin a chance to crisp instead of steam, and the combination of Dijon, whole-grain mustard, maple syrup, and a little soy sauce keeps the glaze balanced. The vinegar sharpens the sweetness, while garlic and thyme keep it from reading like breakfast syrup with chicken attached.
Below, I’ll walk through the sear, the glaze, and the final brush-on finish that gives these thighs their shiny look. There’s also a quick note on what to change if you want to use boneless thighs or keep the dish gluten-free.
The skin got crisp in the skillet and the glaze turned sticky and glossy in the oven without burning. I loved that the mustard kept the maple from being too sweet, and the leftovers reheated well the next day.
Sticky Maple Dijon Chicken Thighs with crisp skin and a glossy, mustard-kissed glaze are the kind of dinner that disappears fast.
The Skin Has to Stay Dry or the Glaze Never Clings Right
Most sticky chicken recipes go wrong before the oven even starts. If the skin is damp, it steams instead of browns, and the glaze slides around in a loose puddle instead of coating the chicken in that lacquered finish people want from this dish. A hot skillet helps, but dryness is what gives you the crisp skin and the kind of surface the glaze can actually grab.
The other thing that matters here is timing. Maple syrup burns faster than plain sugar because it carries water and minerals that darken quickly once heat hits them. That’s why the glaze goes on after the sear and gets brushed on in layers, not dumped on all at once. The oven finishes cooking the chicken while the sugars tighten into a shiny coating.
- Chicken thighs — Bone-in, skin-on thighs hold up best here. They stay juicy through the bake and the skin gives you the built-in fat you need for a crisp finish. Boneless thighs work in a pinch, but they cook faster and won’t give you the same rich texture.
- Pure maple syrup — Use real maple syrup, not pancake syrup. You need the clean, maple-forward sweetness and the way it reduces into a sticky glaze. The finishing spoonful at the end gives the chicken that glossy top coat without making the whole dish overly sweet.
- Dijon and whole-grain mustard — Dijon brings sharpness and emulsification, while whole-grain mustard adds texture and a little roundness. If you only have Dijon, use it, but the whole-grain mustard gives the glaze more body and little pops of mustard seed that look and taste right on the finished chicken.
- Apple cider vinegar — This keeps the glaze from becoming cloying. It doesn’t taste sour once baked; it just wakes everything up. White wine vinegar can step in if needed, but apple cider vinegar fits the maple and mustard pairing better.
- Soy sauce — A small amount deepens the glaze and keeps it from tasting flat. Low-sodium soy sauce is the best call because the reduction concentrates as it bakes. Use tamari if you need the recipe gluten-free.
- Fresh garlic and thyme — Fresh garlic gives the glaze real warmth, not just garlic powder heat. Thyme carries through the maple beautifully and keeps the dish savory. Dried thyme works, but cut the amount in half because it can take over fast.
From Sear to Shine: How to Build the Sticky Finish
Dry the Skin Before the Pan Hits the Heat
Pat the chicken thighs dry with paper towels until the skin feels tacky, not wet. Then season them and let them sit while you warm the skillet so the salt starts pulling out a little more surface moisture. If there’s visible water on the skin when it hits the pan, it’ll fight you the whole way and you’ll lose the crisp edge you wanted.
Brown the Skin Hard and Fast
Lay the thighs skin-side down in a hot oven-safe skillet and leave them alone until the skin releases on its own and looks deep golden-brown, usually 6 to 7 minutes. If you try to move them too early, they’ll tear and leave the best part of the crust behind in the pan. Flip for just a short second-side cook; the goal is color, not full doneness.
Brush, Bake, and Brush Again
Once the chicken is skin-side up, brush on about half the glaze so it sits on top of the chicken instead of pooling underneath. Bake, then brush on the second layer after about 20 minutes, when the glaze has started to set but hasn’t darkened too much. This two-stage approach keeps the maple from scorching and gives you a thicker lacquer by the end.
Use the Broiler for the Last Glossy Edge
If the glaze needs a little more color, broil the chicken for 1 to 2 minutes at the end and watch it constantly. Maple syrup can go from caramelized to burnt in a blink, so stay close and pull the pan the moment the edges look shiny and bronzed. Finish with the last tiny brush of maple and mustard while the chicken is hot so it melts into the surface instead of sitting on top like syrup.
Three Smart Ways to Change the Recipe Without Losing the Point
Make it gluten-free without changing the flavor
Swap the soy sauce for tamari or coconut aminos. Tamari gives you the closest match in depth and saltiness, while coconut aminos taste a little sweeter and lighter. The glaze will still reduce and cling the same way.
Use boneless thighs when you need faster dinner
Boneless, skinless thighs cook faster and skip the sear-and-broil texture, but they still work well with this glaze. Bake them until just cooked through and start checking early, because they’ll dry out if you use the same timing as bone-in thighs. You lose the crackly skin, but you gain speed and easier serving.
Swap in honey when maple isn’t in the pantry
Honey works, but it’s a touch thicker and a little more floral than maple. Use the same amount and watch the broiler more closely because honey browns even faster. The result is still sticky and glossy, just less woodsy and a bit sweeter on the finish.
Add a little heat without changing the glaze base
Keep the red pepper flakes in the glaze or add a pinch more if you want a sharper finish. The heat reads best in the background, after the sweetness lands, so don’t overdo it. Too much chile can bury the mustard and make the sauce taste one-note.
Storage and Reheating
- Refrigerator: Store leftovers in an airtight container for up to 4 days. The skin softens as it chills, but the flavor stays strong.
- Freezer: Freeze cooked thighs for up to 2 months. Wrap them tightly and freeze with a little of the pan juices if you can, which helps protect the meat from drying out.
- Reheating: Warm in a 350°F oven until heated through, uncovered, so the skin can re-crisp a bit. The biggest mistake is microwaving them straight from the fridge, which makes the glaze loose and the skin rubbery.
Answers to the Questions Worth Asking
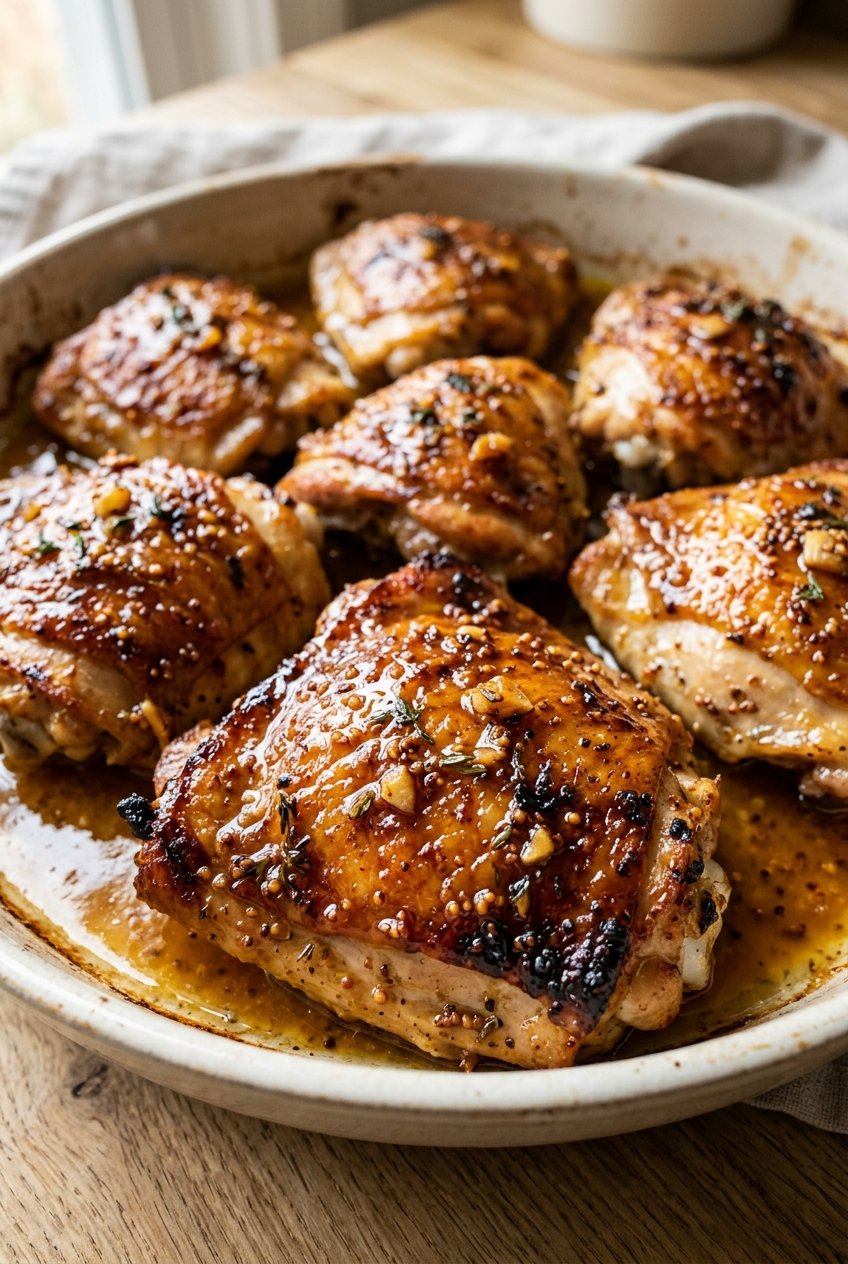
Sticky Maple Dijon Chicken Thighs
Ingredients
Equipment
Method
- Preheat the oven to 425°F (220°C). Set out a large oven-safe skillet (or shallow baking dish) so the thighs can sit in a single layer.
- Pat the chicken thighs very dry with paper towels. This helps the skin crisp instead of steaming from excess surface moisture.
- Rub the chicken thighs lightly with olive oil. Season all over with kosher salt, black pepper, garlic powder, and smoked paprika.
- Whisk together pure maple syrup, Dijon mustard, whole-grain mustard, apple cider vinegar, low-sodium soy sauce, olive oil, garlic, fresh thyme leaves, smoked paprika, black pepper, and optional red pepper flakes. Whisk until smooth but thick enough to coat a spoon.
- Heat the oven-safe skillet over medium-high heat. Place the chicken thighs skin-side down and sear for about 6–7 minutes until the skin is deep golden-brown.
- Flip the chicken thighs and cook the second side for about 2 minutes. The goal is to firm up the underside before baking.
- Turn the chicken skin-side up. Brush about half of the Maple Dijon glaze generously over the thighs, keeping most of it on the top surface rather than flooding the pan.
- Transfer the skillet to the oven and bake for 20 minutes at 425°F (220°C). Remove briefly and brush with another layer of glaze.
- Return to the oven and bake for about 10–15 minutes, depending on thigh size at 425°F (220°C). Bake until the chicken reaches at least 165°F (74°C) internally.
- Broil for the final 1–2 minutes if needed to produce glossy, caramelized edges. Watch closely because maple syrup can burn quickly.
- Mix pure maple syrup with whole-grain mustard to make the finishing glaze. Brush a very thin layer over the hot chicken immediately after baking.
- Rest the chicken for 5 minutes. Finish with fresh thyme leaves and freshly ground black pepper, then serve.
