
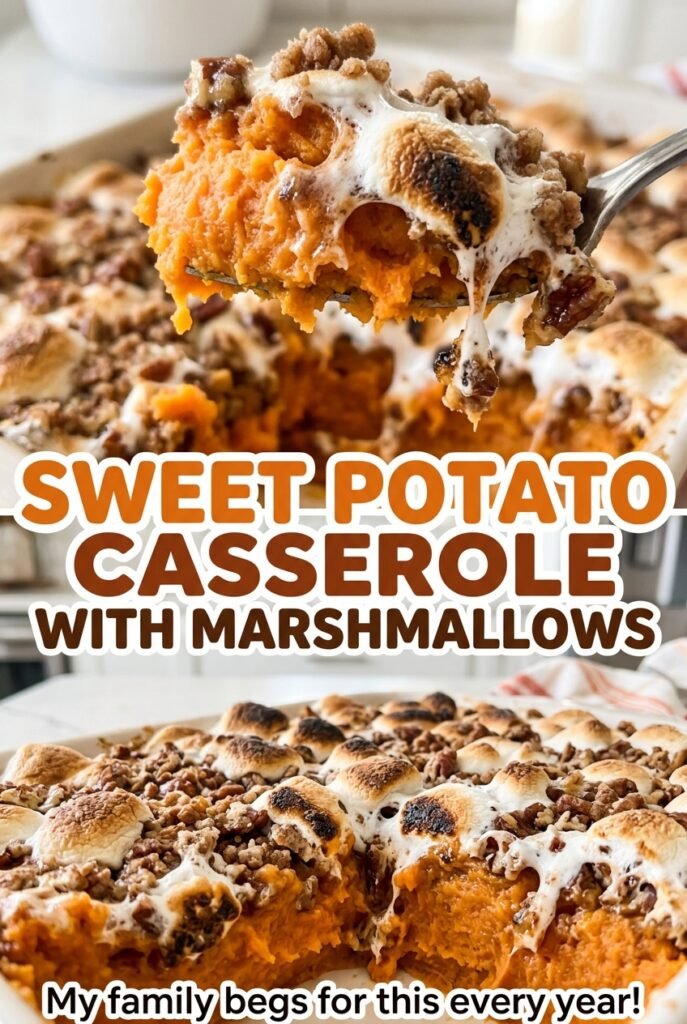
Sweet Potato Casserole with Marshmallows
When the sweet potatoes are tender enough for a fork to slide through, the next step matters more than it looks: drain them well before mashing. Too much water can…
Tip: save now, read later.
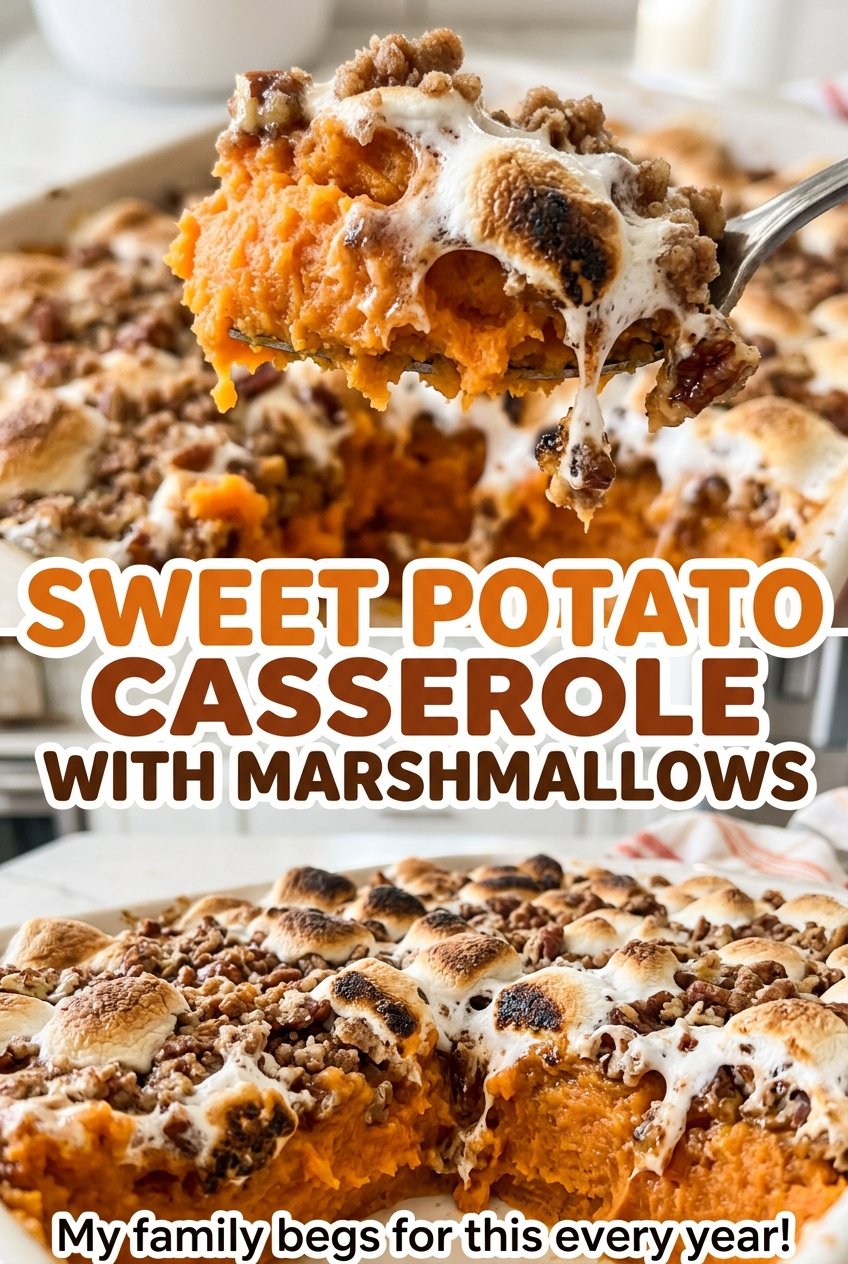
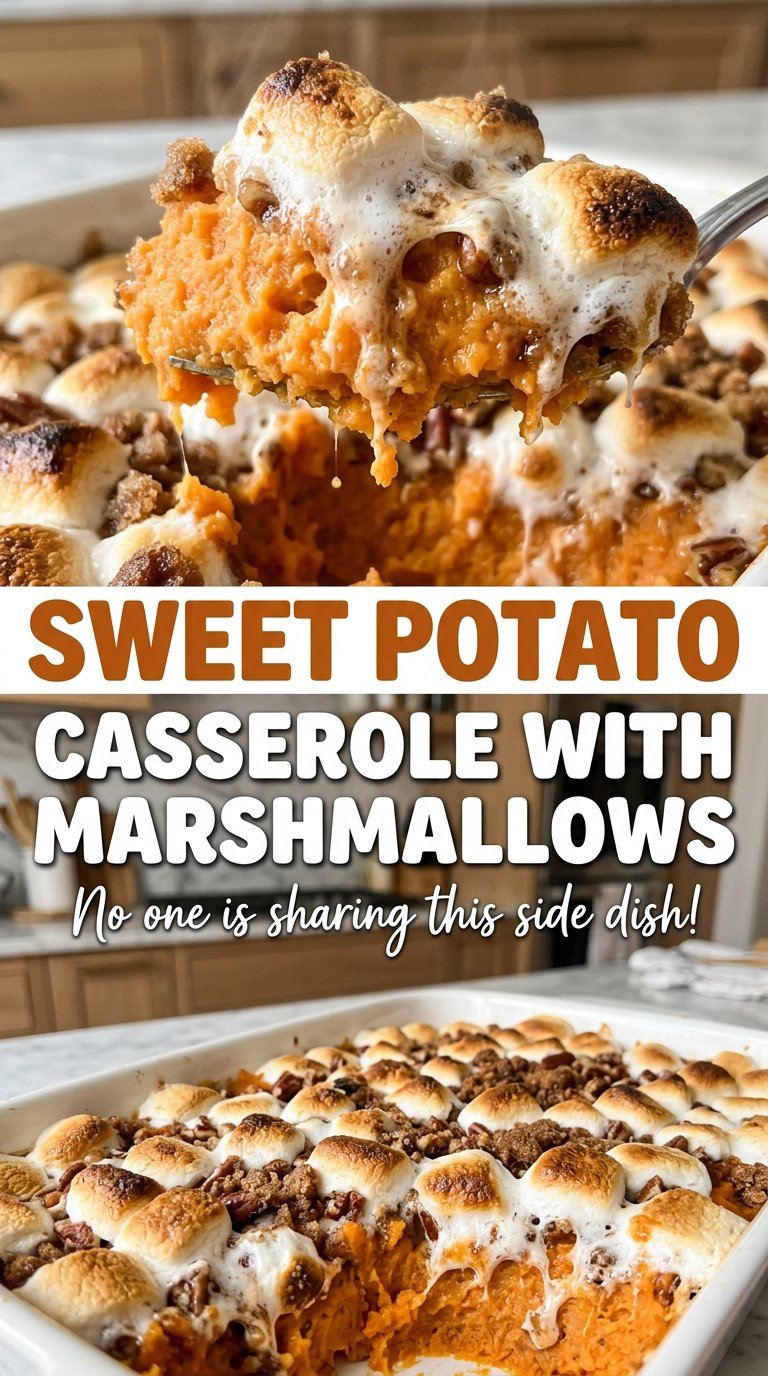
When the sweet potatoes are tender enough for a fork to slide through, the next step matters more than it looks: drain them well before mashing. Too much water can leave the filling loose instead of plush. I make this Sweet Potato Casserole with Marshmallows with a smooth, buttery base and a toasted marshmallow top that stays distinct from the filling.
The marshmallows go on only after the sweet potato mixture has baked and its center has set. That gives the filling time to firm up before the topping puffs and turns golden, rather than leaving you with browned marshmallows over a soft middle. A short rest after baking helps the casserole settle, so each scoop holds its shape beneath that sweet, pillowy top.
Kitchen Note
Give the boiled potatoes a thorough drain before they go back into the pot. Even a little water clinging to them can thin the mash, and a drier base bakes up with a more settled, spoonable texture.
Save this sweet potato casserole with marshmallows for its smooth, lightly sweet filling and puffed golden topping.
Why the Marshmallows Go on After the Filling Sets
Sweet potato casserole has two very different textures to get right: a tender, cohesive base and a marshmallow topping that is puffed and golden, not collapsed into the mash. Baking them together from the start gives the marshmallows much longer in the oven than they need. They can brown before the center of the casserole has had time to set.
Baking the filling first separates those jobs. The sweet potato mixture firms up on its own, then the marshmallows get a short finishing bake to soften, puff, and color. Scatter them across the surface in an even layer so the topping browns consistently and each serving gets some. Keep an eye on their color during the final bake; once they look puffed and golden, they’re ready to come out. The short rest afterward lets the soft center settle under the topping instead of sliding apart as soon as you scoop it.
What Sweet Potatoes, Eggs, and Marshmallows Each Bring
- Sweet potatoes — Fresh sweet potatoes give the filling its body and naturally sweet, earthy flavor. Choose firm potatoes without soft spots, and cut them into similarly sized chunks so they become tender together. Canned sweet potatoes aren’t a direct swap here; their moisture and softness vary, so the filling can turn loose before it bakes.
- Eggs — Beaten eggs help the mashed sweet potatoes set into a casserole that can be scooped rather than served like loose mash. I wouldn’t leave them out or replace them with extra milk: that changes the structure and can make the center too soft.
- Unsalted butter and whole milk — Butter adds richness, while whole milk loosens the mash enough to stir smoothly. If whole milk isn’t on hand, 2% milk works in the same amount, though the filling will be a little less rich. Unsalted butter also lets the salt stay balanced without guessing how salty a salted butter brand might be.
- Light brown sugar and vanilla — Light brown sugar brings a mellow caramel note that suits the sweet potatoes without taking over, and vanilla rounds out the filling. Dark brown sugar can stand in for the light brown sugar for a deeper molasses note; the casserole will taste a little more robust.
- Mini marshmallows — Their small size makes it easy to spread the topping edge to edge, with plenty of toasted surface in each scoop. If you only have regular marshmallows, cut them into smaller pieces so they cover the casserole more evenly. The top may look less uniform, but the soft, toasted finish still works.
From Tender Potatoes to a Golden Marshmallow Top
Boil the chunks until a fork slips in easily
Set the oven to 350°F and coat a 9×13-inch baking dish with nonstick cooking spray. Add the sweet potato chunks and water to an 8-quart pot, bring the water to a boil over high heat, then lower the heat to a simmer. Cook for 15 to 20 minutes, until a fork pierces the potatoes with little resistance. If a piece still feels firm in the middle, give the pot more time rather than trying to mash around hard chunks.
Mash smooth, then mix in the filling ingredients
Drain the potatoes well, return them to the pot, and mash until smooth. Let them cool for 5 minutes before stirring in the melted butter, light brown sugar, whole milk, beaten eggs, vanilla, and kosher salt. Mix until the color and texture look even, with no streaks of egg or pockets of butter. Stir gently once everything is combined; the goal is a smooth filling, not an airy whipped mash.
Bake the sweet potato base until the middle sets
Spread the filling evenly in the prepared baking dish, smoothing it into the corners so it bakes at a consistent depth. Bake for 25 to 30 minutes, until the center is set rather than sloshy when the dish is nudged. The edges may look firmer than the middle, but the center shouldn’t ripple like a liquid. Don’t add the marshmallows while the filling still looks loose.
Toast the marshmallows and let the casserole rest
Scatter the mini marshmallows evenly over the baked filling and return the dish to the oven for 8 to 12 minutes. Watch for marshmallows that have puffed and turned golden; if they’re still pale, give them a little longer, but don’t wait for them to darken deeply. Let the casserole rest for 10 minutes before serving. The topping will soften as it sits, while the filling becomes easier to portion neatly.
Three Ways to Adjust the Sweetness and Texture
A less-sweet marshmallow finish
Use a thinner scatter of mini marshmallows instead of covering every bit of the filling. You’ll get toasted marshmallow in each serving, but more of the sweet potato and brown sugar flavor comes through between the soft patches.
A softly textured filling
For a more rustic spoonful, stop mashing when the potatoes are mostly smooth and a few small, tender pieces remain. The casserole will feel less silky than the fully mashed version, but the little bits give the filling a more homemade, potato-forward texture.
A dairy-free filling and topping
Replace the butter with plant-based butter, use unsweetened plain oat milk instead of whole milk, and choose dairy-free mini marshmallows. The filling will be a little less buttery, but the sweet potatoes and brown sugar still make a cohesive base. The eggs remain in this adaptation, so it isn’t egg-free.
Storage and Reheating
- Refrigerator: Refrigerate leftovers within 2 hours, covered, and eat them within 3 to 4 days. The marshmallow topping softens and becomes stickier after chilling.
- Freezer: Freeze cooled portions in an airtight, freezer-safe container for up to 2 to 3 months. The sweet potato filling freezes well, though the marshmallow topping won’t keep its freshly toasted texture after thawing.
- Reheating: Warm individual portions in the microwave until hot throughout, or heat a larger portion in the oven until warmed through. The topping may soften as it reheats; avoid prolonged heating, which can make the marshmallows tough and chewy.
Questions That Come Up When Making This Casserole
Sweet Potato Casserole with Marshmallows
Ingredients
Equipment
Method
- Preheat the oven to 350°F.
- Coat a 9x13-inch baking dish with nonstick cooking spray.
- Put the sweet potatoes and water in an 8-quart pot and bring to a boil over high heat, then reduce the heat and simmer for 15 to 20 minutes, until the potatoes are very tender when pierced with a fork.
- Drain the potatoes well and return them to the pot.
- Mash the potatoes until smooth.
- Let the potatoes cool for 5 minutes.
- Stir in the melted butter, brown sugar, milk, beaten eggs, vanilla, and salt until evenly combined.
- Spread the mixture in the prepared baking dish and bake for 25 to 30 minutes, until the center is set.
- Scatter the marshmallows evenly over the casserole.
- Bake for 8 to 12 minutes, until puffed and golden.
- Let the casserole rest for 10 minutes before serving.
