

Turkey in an Oven Bag
As the oven bag heats, it loosens around the turkey, and the onions and celery underneath start to soften in the steam. That enclosed space is what makes this method…
Tip: save now, read later.
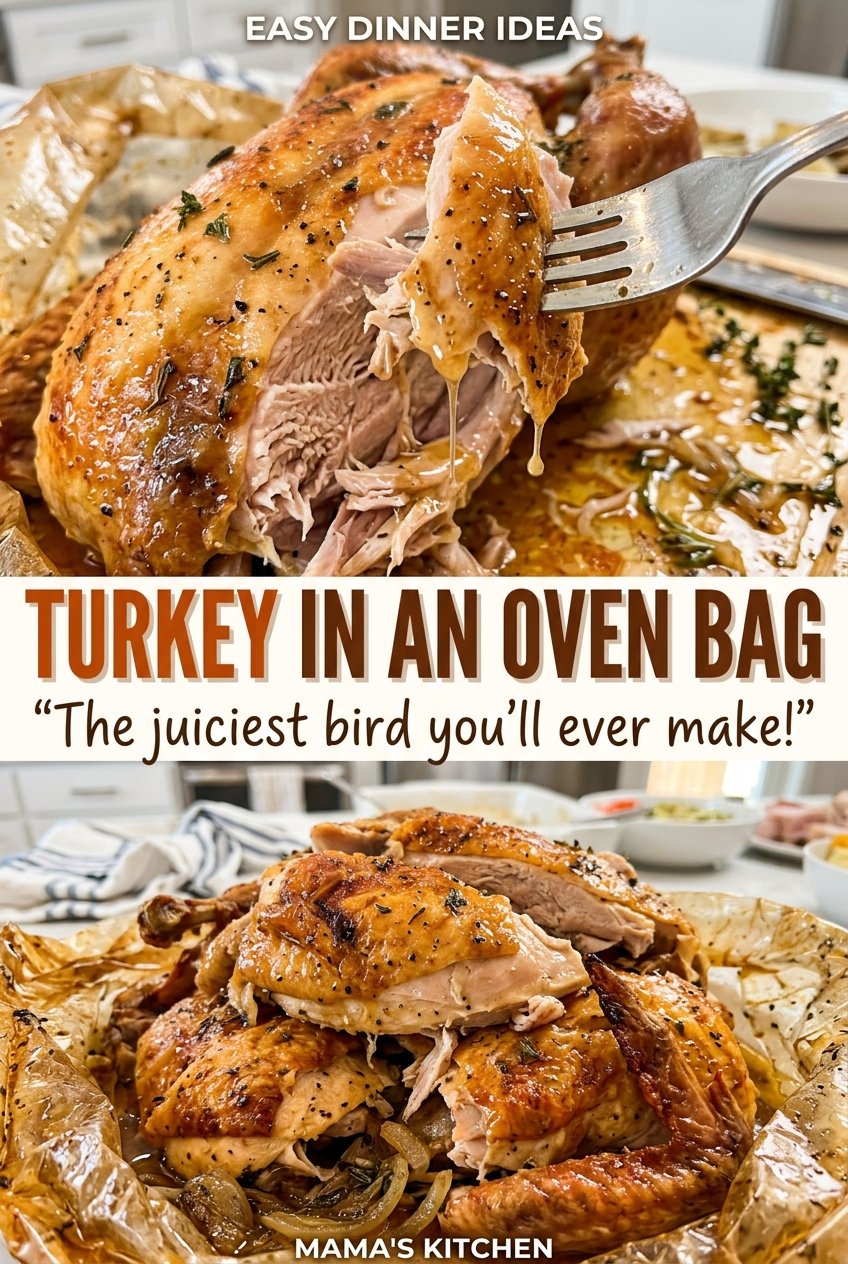
As the oven bag heats, it loosens around the turkey, and the onions and celery underneath start to soften in the steam. That enclosed space is what makes this method feel different from an open-pan roast: the bird cooks inside the bag, while the seasonings stay close to the skin. For Turkey in an Oven Bag, I use a fully thawed 12- to 14-pound turkey and keep the setup simple.
The most useful thing to get right before the turkey goes in is the fit. A large turkey-size bag sits in a 16×13-inch roasting pan, with the bird breast side up and the vegetables underneath. The butter spreads more evenly when it’s softened, and patting the skin dry first helps it cling instead of sliding off. Once the bag is tied and vented, the oven does the steady work, leaving you with tender slices ready to carve after a short rest.
Kitchen Note
Pat the turkey skin dry before you spread on the softened butter. Dry skin gives the butter and seasoning a more even surface to cling to, so you’re not chasing slippery patches around the bird.
Save Turkey in an Oven Bag for a hands-off roast with a simple butter-and-seasoning finish and an easy-to-follow thermometer check.
The Oven Bag Still Needs Room to Vent
An oven bag isn’t a sealed pressure cooker. It needs the flour shaken inside before the vegetables and turkey go in, and the top needs six small slits so steam has a way to escape during roasting. Skipping those details changes how the bag behaves in the oven, so I treat them as part of the setup rather than optional finishing touches.
Clearance matters just as much. The bag shouldn’t touch the oven walls or heating elements, where it could be exposed to direct heat. A 16×13-inch roasting pan gives the bag a stable base; keep the turkey centered in the pan and check that the bag has room around it before roasting. If the bag is crowded against the oven, adjust the rack or pan position before the bird goes in. That small check keeps the bag’s cooking environment where it belongs: around the turkey, not against the oven.
Why the Butter, Seasoning, and Aromatic Bed Each Matter
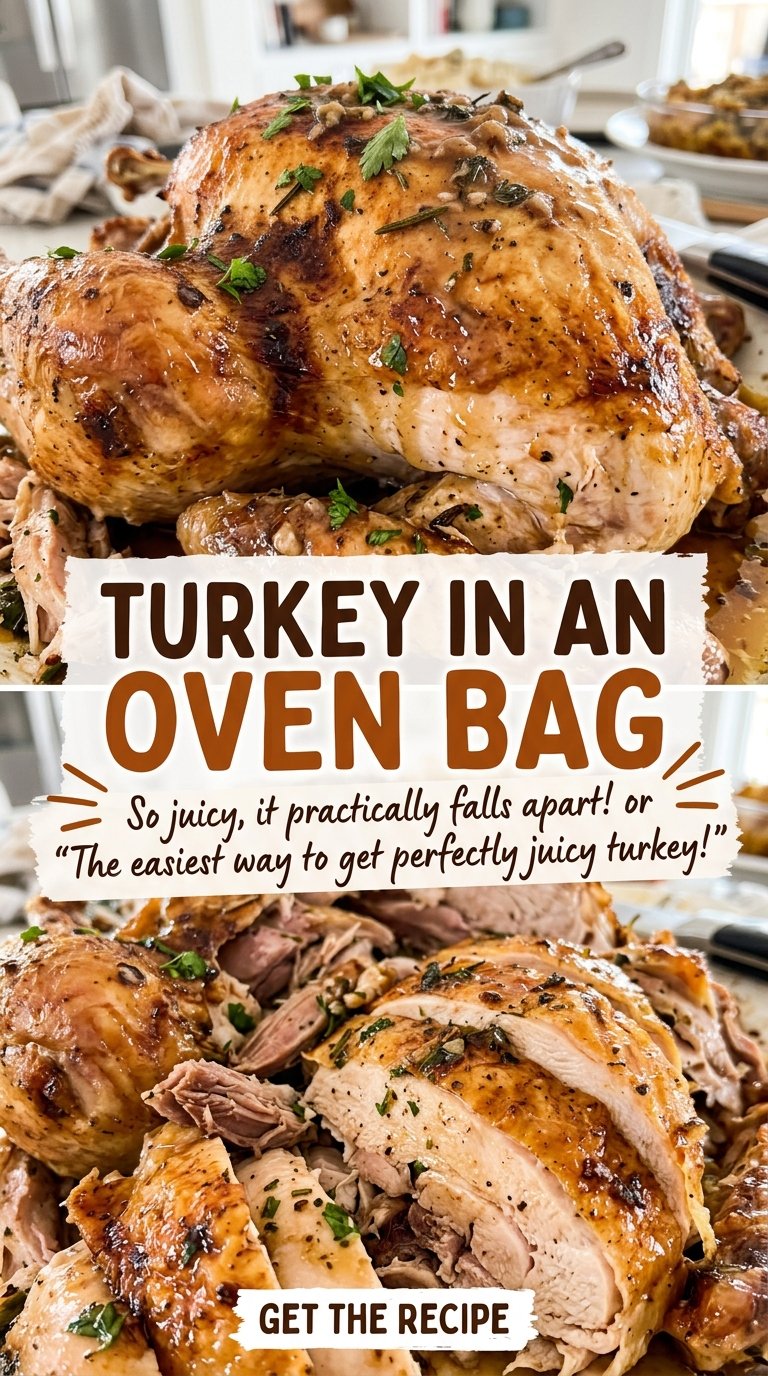
- Whole turkey — A fully thawed bird in the 12- to 14-pound range fits the timing and setup here. Check that the neck and giblets are removed before seasoning; the turkey goes into the bag breast side up.
- Softened unsalted butter — Soft butter is easy to rub over the skin without tearing it, and unsalted butter lets you control the salt with the kosher salt added separately. If it’s still firm, give it more time to soften rather than melting it; melted butter runs off the skin more readily.
- Kosher salt, black pepper, and garlic powder — These make a straightforward seasoning that’s easy to distribute over the buttered skin. Garlic powder spreads more evenly than fresh chopped garlic in this simple rub, and kosher salt is the specified choice for this seasoning mix.
- Yellow onion and celery — Their job here is to sit under the turkey inside the bag, where they make a bed for the bird as it roasts. Cut the celery into short pieces and quarter the peeled onion so both fit neatly beneath the turkey.
- All-purpose flour — Shake it inside the oven bag before adding the vegetables. It’s part of the bag setup, not a coating for the turkey, so don’t sprinkle it over the buttered skin.
How to Set Up the Bag and Roast the Turkey Evenly
Get the oven and roasting pan ready
Position a rack in the lower third of the oven and preheat to 350°F. Shake the flour inside a large turkey-size oven bag, then set the bag in a 16×13-inch roasting pan. Add the quartered onion and celery pieces inside the bag. Starting with the pan and bag in place makes it easier to load the turkey without pulling the bag out of position.
Dry and season the bird
Pat the fully thawed turkey dry with paper towels, including around the legs and breast. Rub the softened butter over the skin, then sprinkle on the kosher salt, black pepper, and garlic powder as evenly as you can. If the butter is cold and firm, it can drag at the skin; wait until it’s soft enough to spread without force. Check once more that the neck and giblets have been removed.
Settle the turkey in the bag and make the vents
Place the turkey breast side up in the bag, resting it on top of the onion and celery. Close the bag with its tie, then cut six 1/2-inch slits in the top. The slits should be in the upper surface of the bag, not down along its sides. Before roasting, check that no part of the bag touches an oven wall or heating element.
Roast, check both spots, and rest
Roast for 2 to 2 1/2 hours, checking the thickest part of the breast and the innermost part of the thigh with a thermometer; keep the thermometer from touching bone. Both readings need to reach 165°F. If either spot is below that temperature, continue roasting and check again. When the turkey is ready, carefully cut the bag open away from you to release the steam, then let the turkey rest for 20 minutes before carving.
Three Small Seasoning Changes That Keep This Roast Simple
Leave out the garlic powder for a plainer seasoning
Skip the garlic powder and keep the butter, salt, and pepper. The turkey’s seasoning will taste more direct and less savory-garlicky, with no extra prep or ingredient needed.
Make the skin pepper-free
Omit the ground black pepper and use the other seasonings as listed for a milder, less peppery finish. This keeps the same bag method and gives the garlic and salt more room to come through.
Skip the onion, keep the celery
If you don’t want onion in the aromatic bed, leave it out and keep the celery under the turkey. The flavor from the vegetables will be a little simpler, but the turkey still sits on the same bed inside the bag.
Storage and Reheating
- Refrigerator: Carve leftover turkey and refrigerate it within 2 hours. Store it in a covered container and use within 3 to 4 days; the meat may become a little firmer as it chills.
- Freezer: Freeze carved turkey in airtight freezer-safe packaging for 2 to 6 months for best quality. Smaller portions thaw more evenly than a large packed bundle.
- Reheating: Reheat carved portions in the microwave, turning or rearranging them partway through, until they reach 165°F. Avoid heating a large pile all at once, since the outside can get hot before the center does.
Questions That Come Up With an Oven-Bag Turkey
Turkey in an Oven Bag
Ingredients
Equipment
Method
- Position an oven rack in the lower third of the oven and preheat the oven to 350°F.
- Shake the flour inside a large turkey-size oven bag and place the bag in a 16x13-inch roasting pan. Add the onion and celery.
- Pat the turkey dry with paper towels, rub the softened butter over its skin, and sprinkle it evenly with the salt, pepper, and garlic powder.
- Set the turkey breast side up in the bag on top of the vegetables and close the bag with its tie. Cut six 1/2-inch slits in the top, keeping the bag from touching the oven walls or heating elements.
- Roast for 2 to 2 1/2 hours, until a thermometer reads 165°F in the thickest part of the breast and the innermost part of the thigh without touching bone.
- Carefully cut open the bag away from you to release the steam, then rest the turkey for 20 minutes before carving.
