

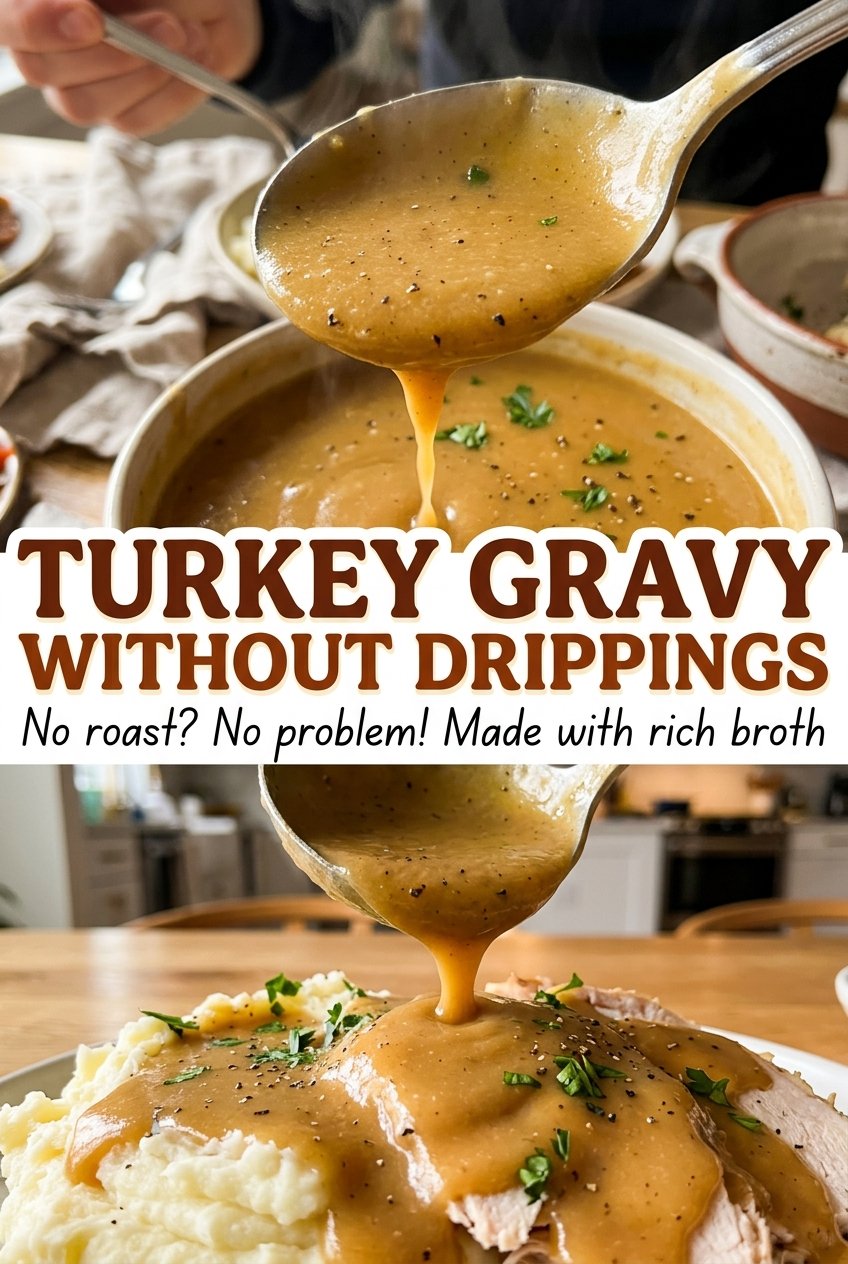
Turkey Gravy Without Drippings
Butter melts into the saucepan, flour goes in, and within a couple of minutes the mixture turns smooth and pale gold. That small window is where homemade turkey gravy gets…
Tip: save now, read later.
Butter melts into the saucepan, flour goes in, and within a couple of minutes the mixture turns smooth and pale gold. That small window is where homemade turkey gravy gets its rounded flavor instead of tasting like flour stirred into broth. I make this version when there aren’t any pan drippings to work with, using low-sodium turkey broth for a gravy that still tastes right beside a roast dinner.
The flour needs a little time in the butter before the broth goes in, but it shouldn’t get deeply browned. Then I whisk in the broth gradually, which gives the roux a chance to loosen without turning lumpy. A short simmer does the rest: the gravy thickens until it clings to a spoon, and the final seasoning stays in your hands. It’s smooth, savory turkey gravy with no roasting pan required.
Kitchen Note
Add the broth in a gradual stream while whisking, rather than pouring it all in at once. You’ll feel the roux loosen as you go, and the mixture stays much easier to keep smooth.
Save this smooth turkey gravy without drippings for a roast dinner, holiday table, or any time the pan is short on juices.
Why This Gravy Needs a Pale Roux, Not a Browned One
When gravy tastes floury, the roux usually didn’t cook long enough. Butter and flour need to cook together for 2 to 3 minutes, with constant whisking, until the mixture looks smooth and pale golden. That short cook gives the flour time to lose its raw edge before the broth goes in.
There’s a balance here: the roux should color lightly, not turn deep brown. A darker roux brings a toastier flavor and won’t thicken in quite the same way, so it’s not the target for this smooth, spoon-coating gravy. Watch the color in the saucepan, not just the clock; once the butter-flour mixture is pale gold and even, move on to the broth. That gives the finished gravy a clean turkey flavor and a texture that holds together.
Without pan drippings, the broth carries the savory character. The roux supplies body, while the seasoning brings the two into balance. Neither part needs to be complicated, but giving the flour those few minutes in the butter makes a noticeable difference in the finished spoonful.
What Butter, Flour, and Turkey Broth Each Bring to the Sauce
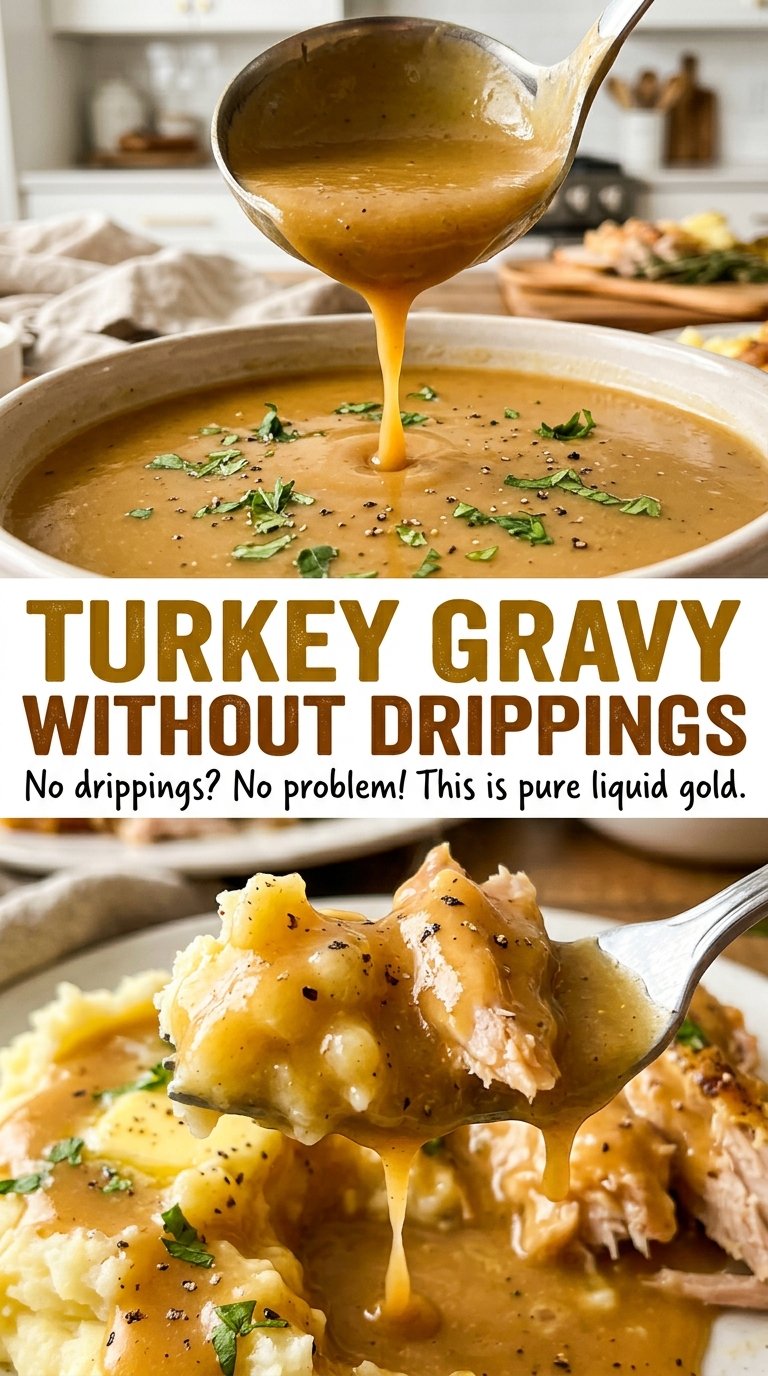
- Unsalted butter — Butter coats the flour and creates the roux that thickens the broth. A standard grocery-store butter works well; there’s no need for a specialty brand. I stick with unsalted so the final salt level can be adjusted after the broth simmers. A different fat would change the flavor, so butter is the dependable choice for this version.
- All-purpose flour — This is the thickener, and it gives the gravy its familiar soft, smooth body. Ordinary all-purpose flour is exactly what I use here. Specialty flours can behave differently, so I don’t swap them into this formula without changing the method and testing the result.
- Low-sodium turkey broth — Broth supplies the turkey flavor that drippings would otherwise add, while the low-sodium kind leaves room to season at the end. Choose a broth you enjoy tasting on its own; a homemade low-sodium turkey broth also fits the same role. Broths vary in saltiness, which is another reason to taste before adjusting the finished gravy.
- Black pepper — Pepper gives the gravy a gentle savory bite without taking over the turkey flavor. Freshly ground pepper tends to taste brighter, but the everyday pantry version works just fine. Stir it in with the salt after the gravy has thickened so you can judge the seasoning in the finished sauce.
The Roux Timing and Broth Pour That Keep This Gravy Smooth
Cook the Flour Until Pale Gold
Melt the butter in a 3-quart saucepan over medium heat. Whisk in the flour and keep whisking for 2 to 3 minutes, until the mixture is smooth and pale golden. It should look cohesive, with no dry flour pockets or dark patches on the bottom of the pan. If the color is moving quickly, keep the whisk moving and use the visual cue rather than letting the roux get much darker.
Whisk in the Broth Gradually
Pour in the turkey broth gradually while whisking until the mixture is smooth. Taking your time here helps the liquid incorporate into the roux instead of leaving floury lumps behind. Bring the gravy to a simmer over medium heat, watching for small bubbles rather than a hard, rolling boil. Keep whisking as the liquid warms so the bottom and sides of the pan don’t get overlooked.
Simmer Until It Coats a Spoon
Reduce the heat to medium-low and simmer for 5 to 8 minutes, whisking often. The gravy is ready when it has thickened and coats the back of a spoon; it should fall slowly rather than run off like broth. If it still looks loose, give it time within that simmering window and check the texture again. Once it reaches that coating consistency, stir in the salt and pepper, taste, and adjust the seasoning as needed.
Small Changes That Keep This No-Drippings Gravy in Balance
Use Homemade Low-Sodium Turkey Broth
Homemade low-sodium turkey broth can stand in for store-bought broth without changing the character of the gravy. It may taste fuller or more delicate depending on how concentrated it is, so judge the seasoning after the sauce has simmered. Keep the broth low in salt so the final seasoning stays in your control.
Make the Finish More Pepper-Forward
For a sharper finish, add a little more black pepper when you season the thickened gravy, tasting as you go. The extra pepper gives the sauce a warmer edge without changing its smooth texture. Keep the initial seasoning restrained if you’re cooking for people with different preferences.
Storage and Reheating
- Refrigerator: Keep the gravy covered for 3 to 4 days. It will firm up as it chills, which is normal for a flour-thickened sauce.
- Freezer: Freeze it in an airtight container for up to 3 months. Thaw it in the refrigerator; the texture may look a little uneven until you whisk it while reheating.
- Reheating: Warm it gently in a saucepan over medium-low heat, whisking often, until it reaches 165°F. Avoid high heat, which can make the gravy catch on the bottom before the center is hot.
The Questions That Come Up When Making Turkey Gravy Without Drippings
Turkey Gravy Without Drippings
Ingredients
Method
- Melt the butter in a 3-quart saucepan over medium heat.
- Whisk in the flour and cook for 2 to 3 minutes, whisking constantly, until smooth and pale golden.
- Gradually whisk in the turkey broth until smooth.
- Bring the gravy to a simmer over medium heat.
- Reduce the heat to medium-low and simmer for 5 to 8 minutes, whisking often, until the gravy thickens and coats the back of a spoon.
- Stir in the salt and pepper.
- Taste and adjust the seasoning as needed.
